Salads
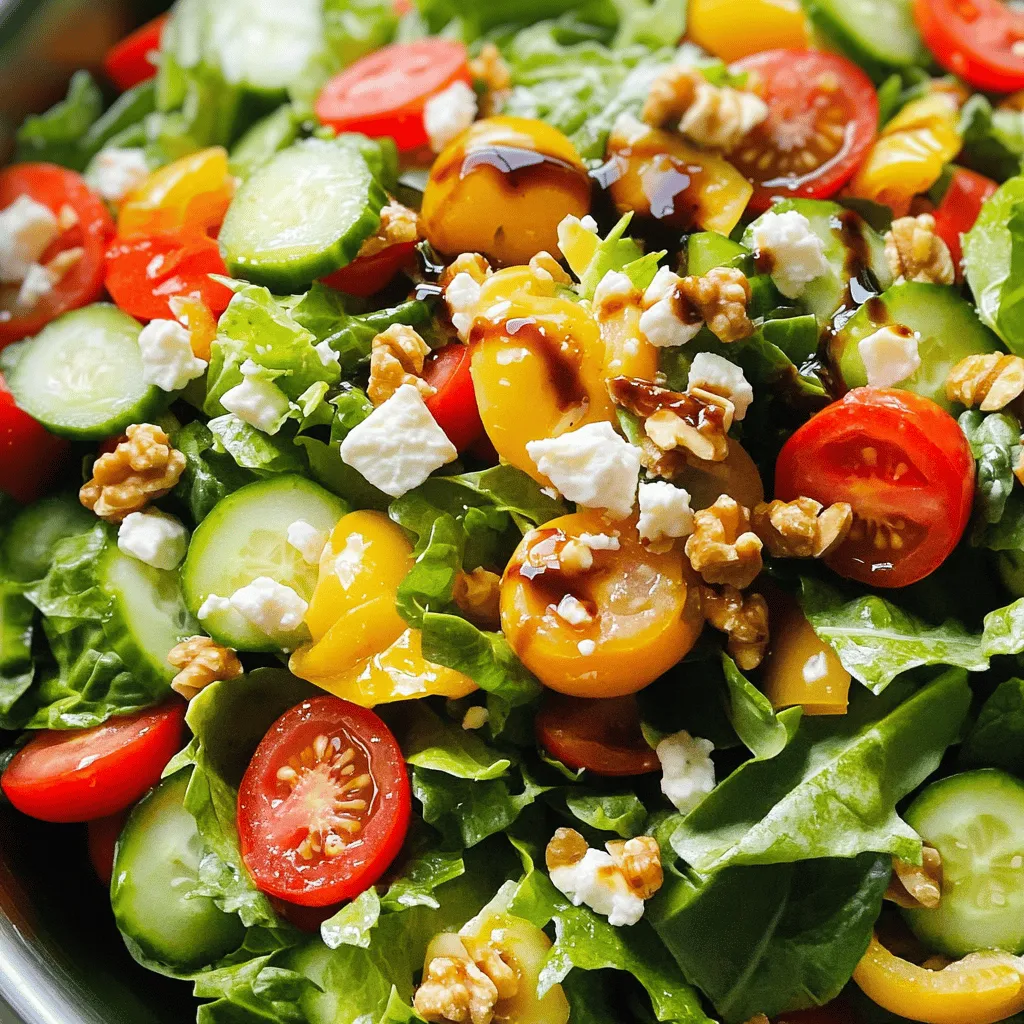
Spring Mix Salad with Balsamic Honey Dressing Delight
Ready to bring fresh flavors to your table? This Spring Mix Salad with Balsamic Honey Dressing is a vibrant and healthy choice. Packed with crisp
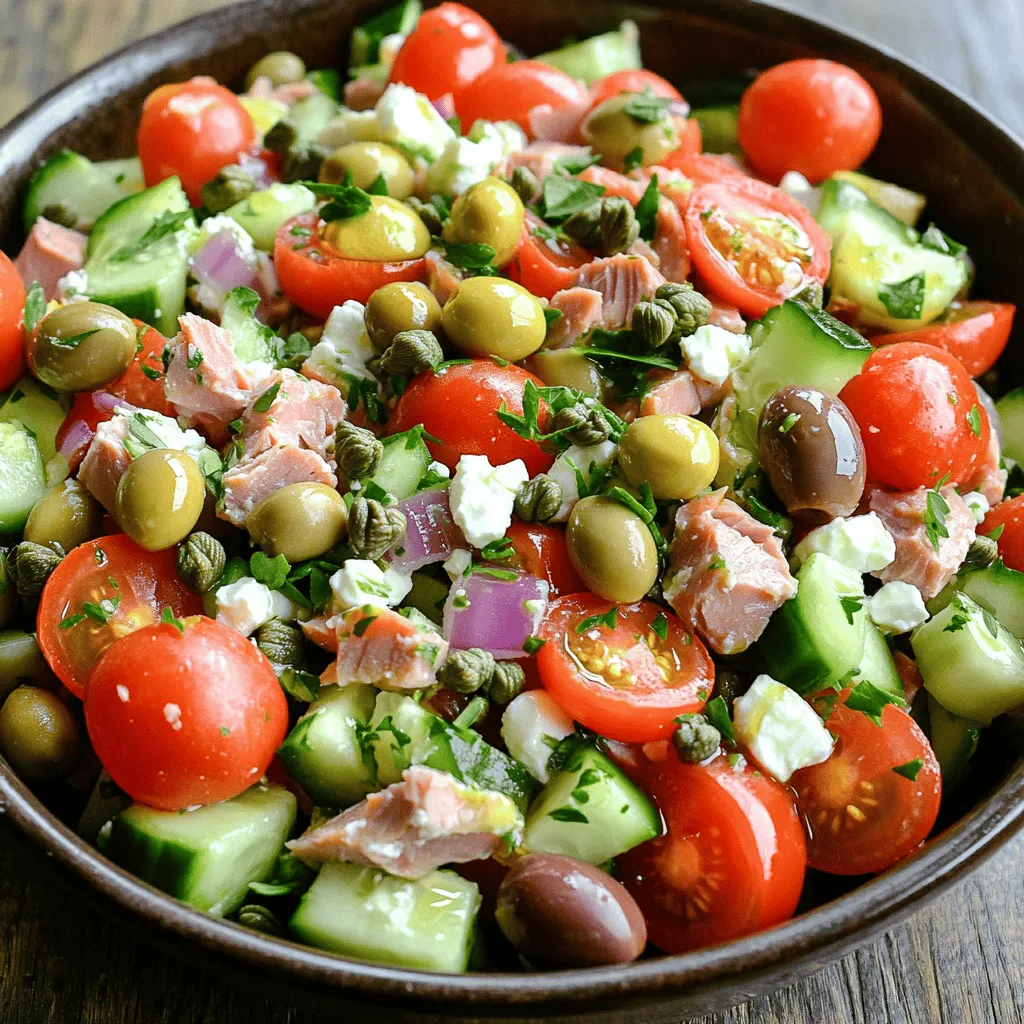
Mediterranean Tuna Salad Fresh and Flavorful Meal
If you’re craving a meal that’s fresh, vibrant, and bursting with Mediterranean flavors, you’ve come to the right place! In this blog post, I’ll guide
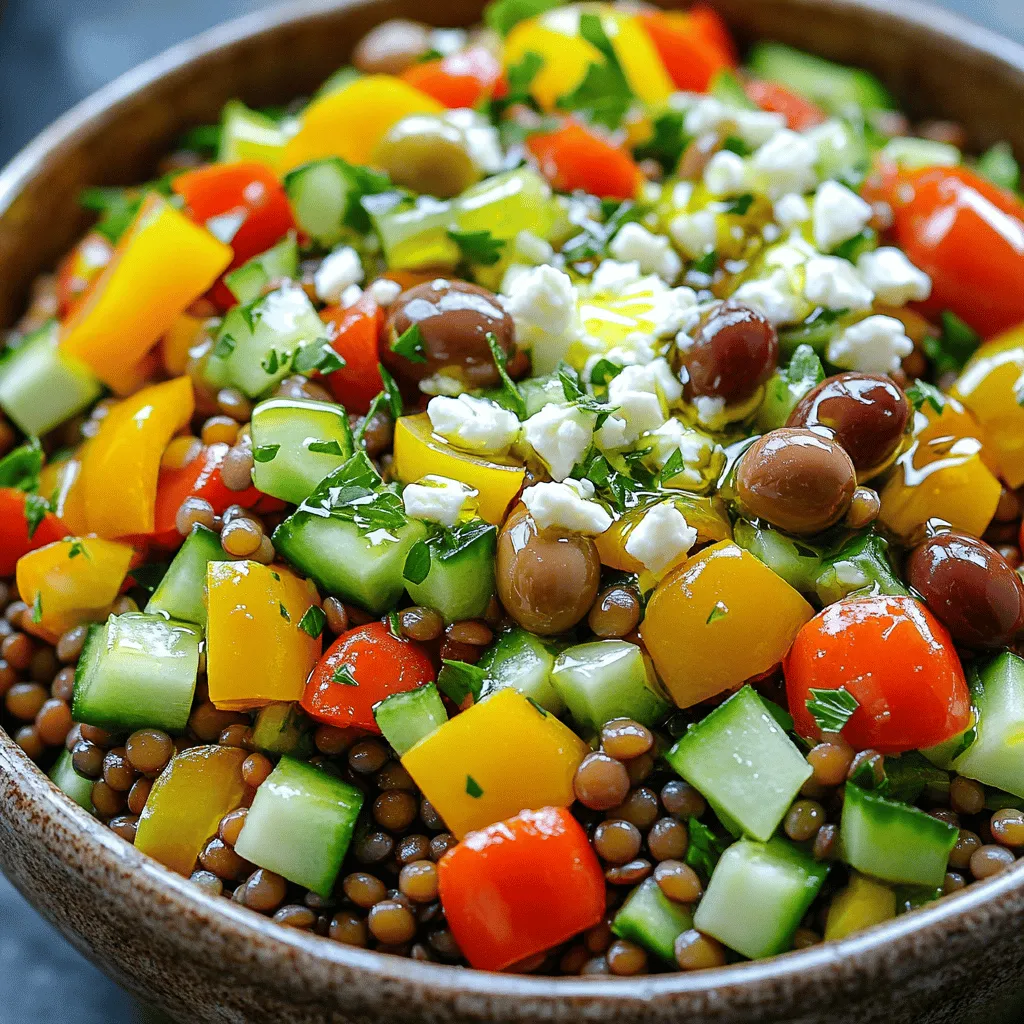
Mediterranean Greek Lentil Salad Fresh Flavor Boost
Looking for a fresh and healthy dish? My Mediterranean Greek Lentil Salad is packed with flavor and easy to make. You’ll discover how to cook
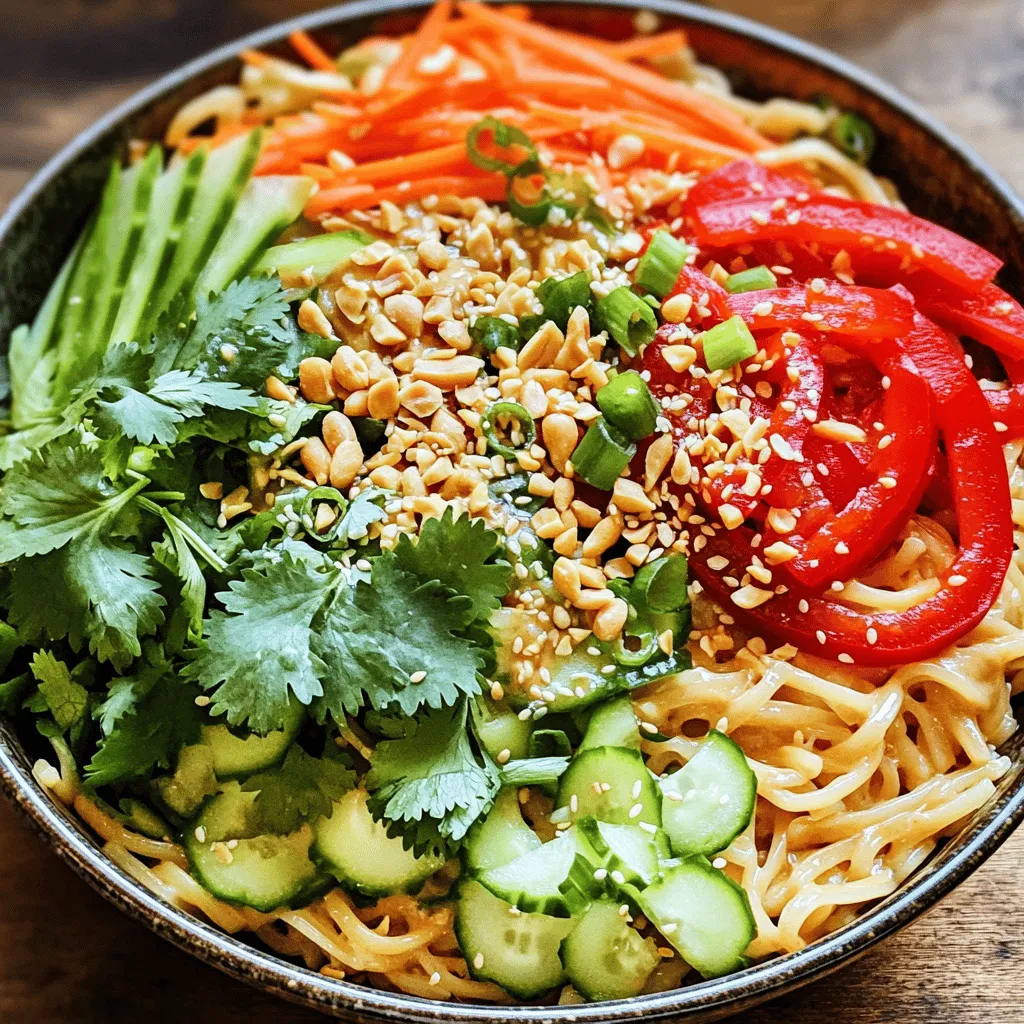
Thai Peanut Noodle Salad Bursting with Flavor
Are you craving a refreshing meal that’s easy to make? My Thai Peanut Noodle Salad is bursting with flavor and packed with healthy ingredients. With
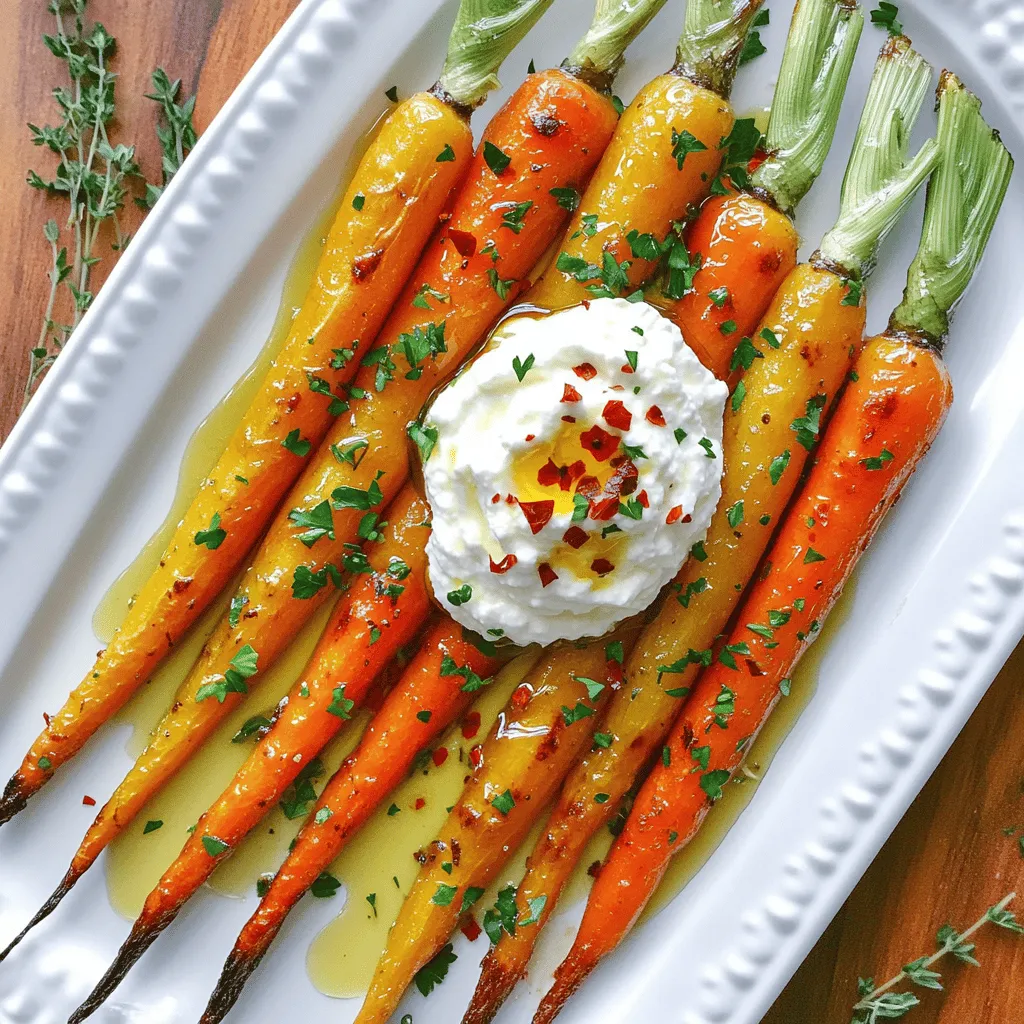
Roasted Carrots with Whipped Ricotta and Hot Honey Delight
Are you ready to elevate your vegetable game? Today, I’m sharing a simple recipe for Roasted Carrots with Whipped Ricotta and Hot Honey Delight. This
Quick Mediterranean Diet Dinner Bowls for Easy Meals
If you want healthy meals that are quick and easy, you’re in the right place! Quick Mediterranean Diet Dinner Bowls are packed with flavor and
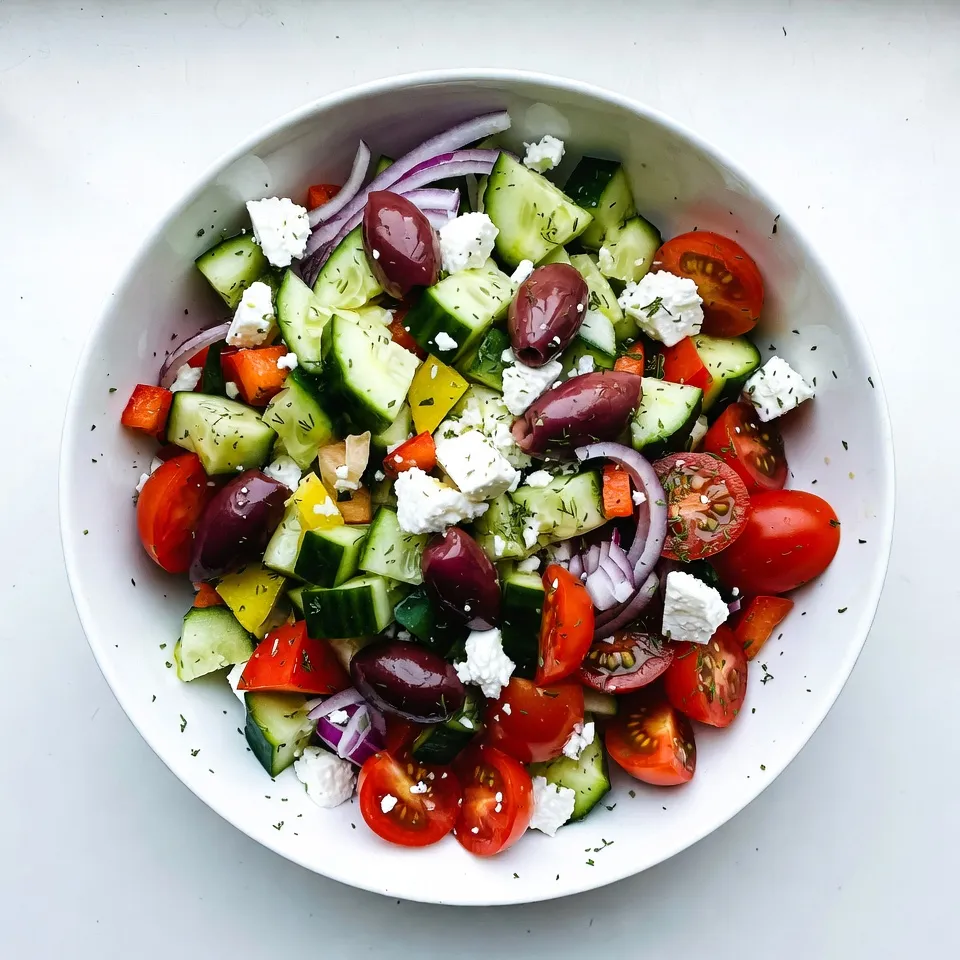
Cucumber Dill Greek Salad Refreshing and Flavorful Dish
Looking for a fresh and tasty dish to brighten your table? This Cucumber Dill Greek Salad packs everything you need. With juicy cucumbers, sweet cherry
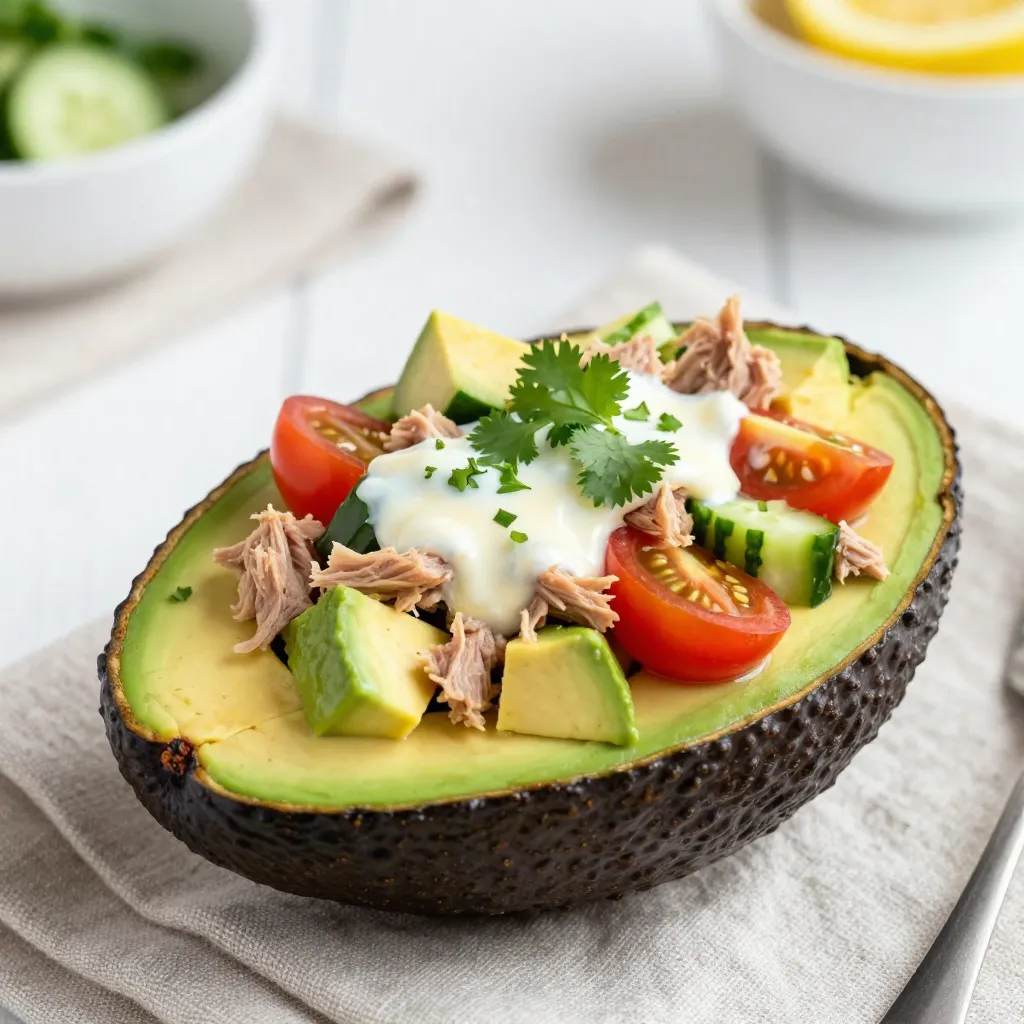
Avocado Tuna Salad Packed with Flavorful Freshness
Looking for a fresh and tasty meal? My Avocado Tuna Salad is packed with flavor and nutrients! This easy recipe combines creamy avocados, rich tuna,
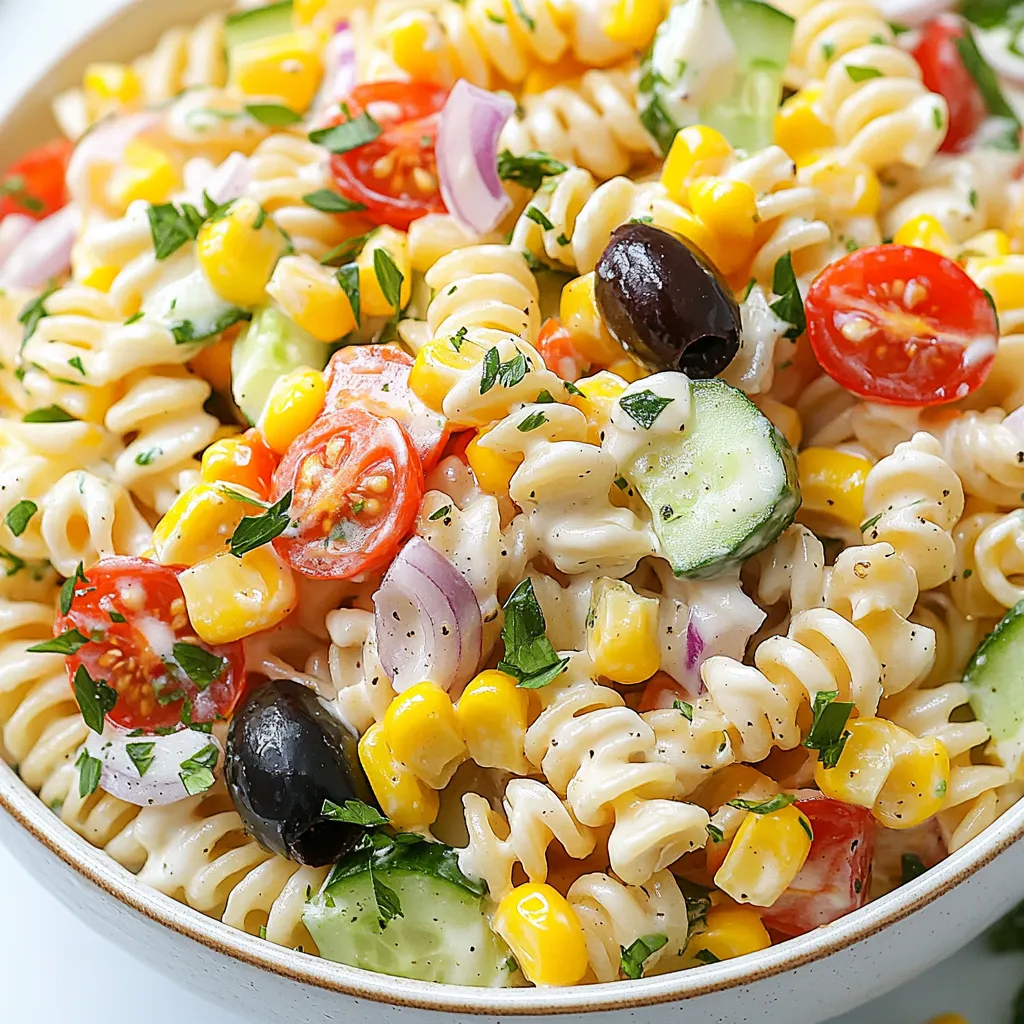
Creamy Pasta Salad Delightful and Refreshing Recipe
Welcome to my creamy pasta salad recipe! This dish combines fresh veggies, wholesome rotini, and a rich dressing for a delightful meal. Whether you’re hosting
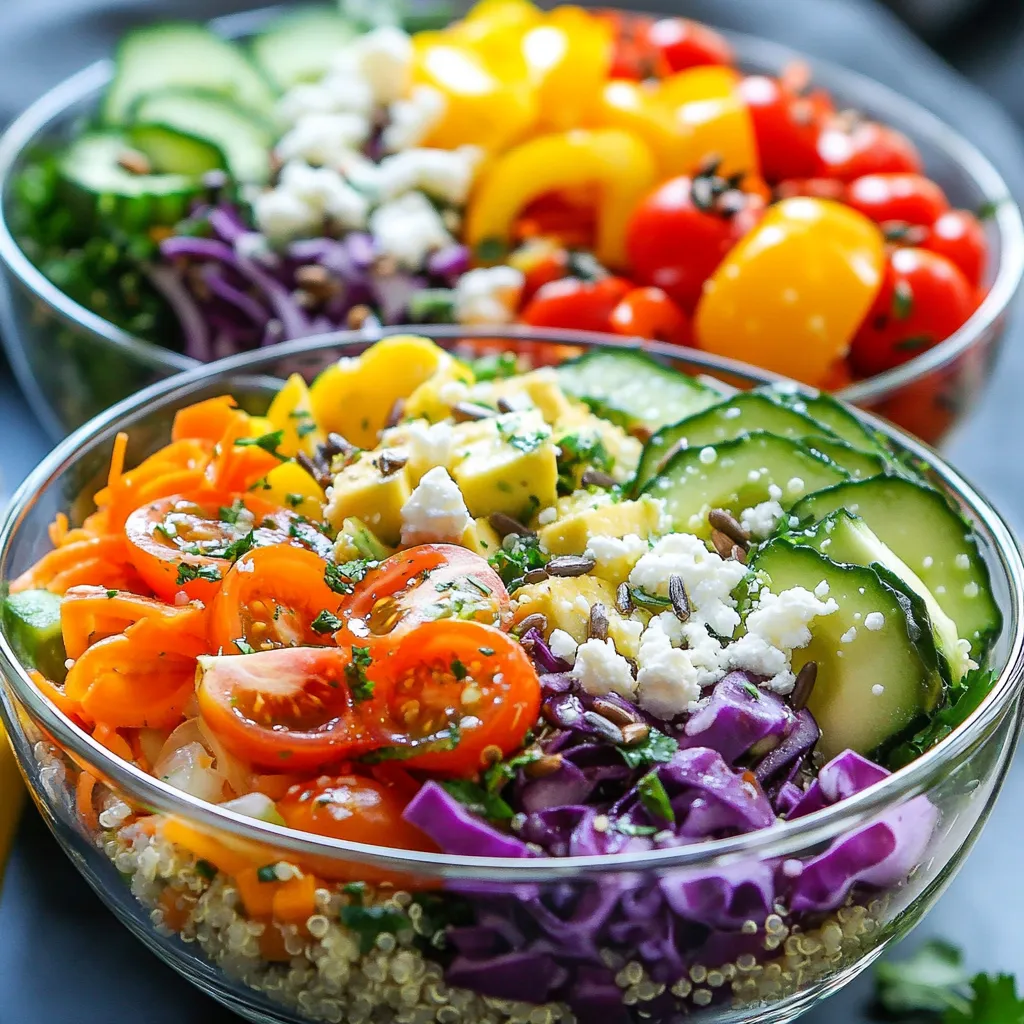
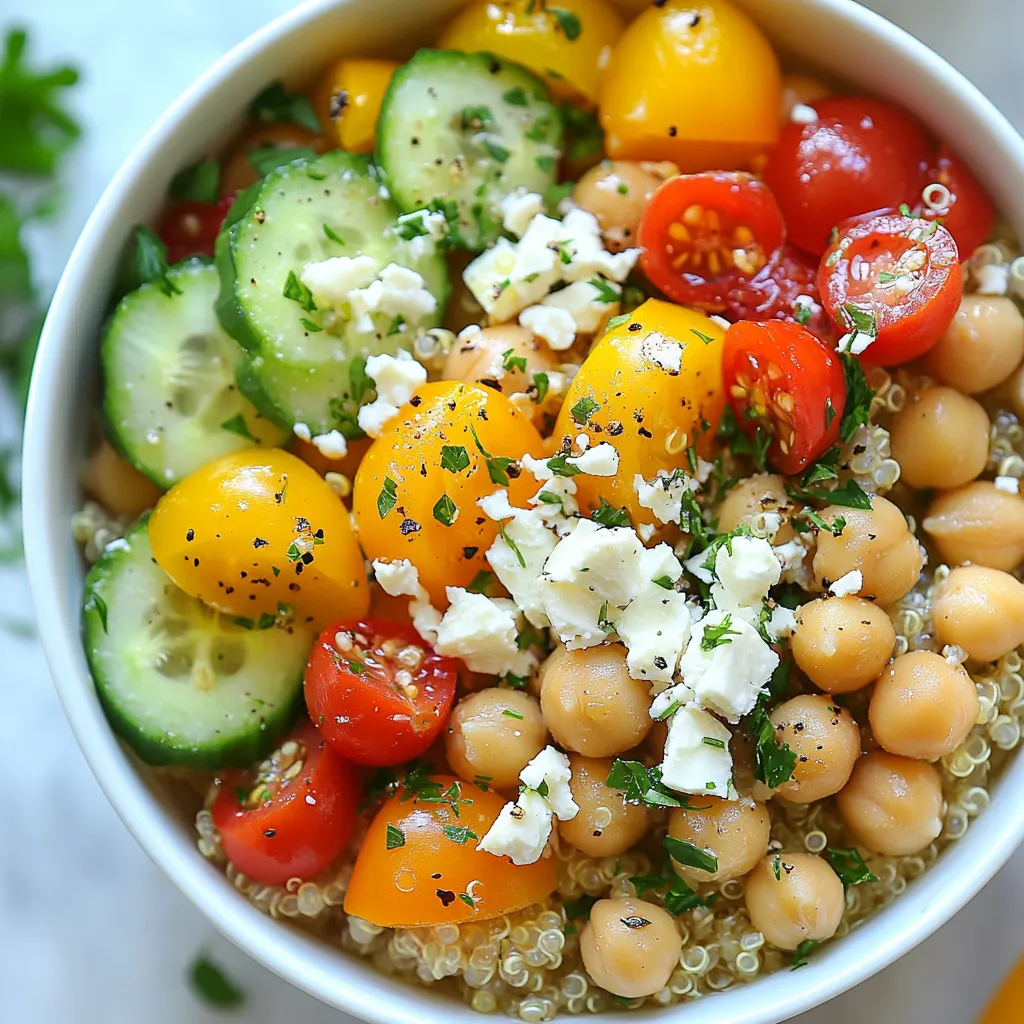
Rainbow Salad Bowls Fresh and Vibrant Meal Option
Are you looking for a fun and healthy meal option? Rainbow salad bowls are colorful, tasty, and packed with nutrients! Using fresh veggies and quinoa,