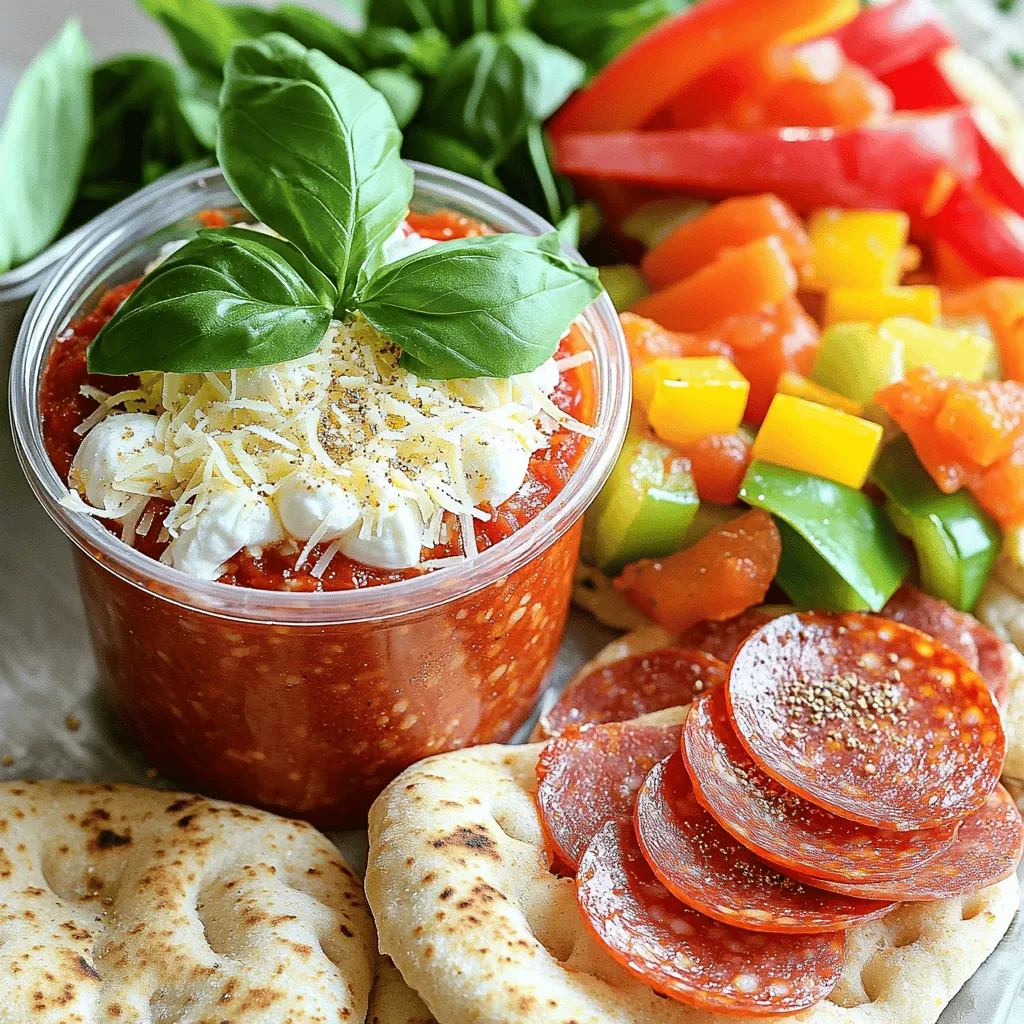
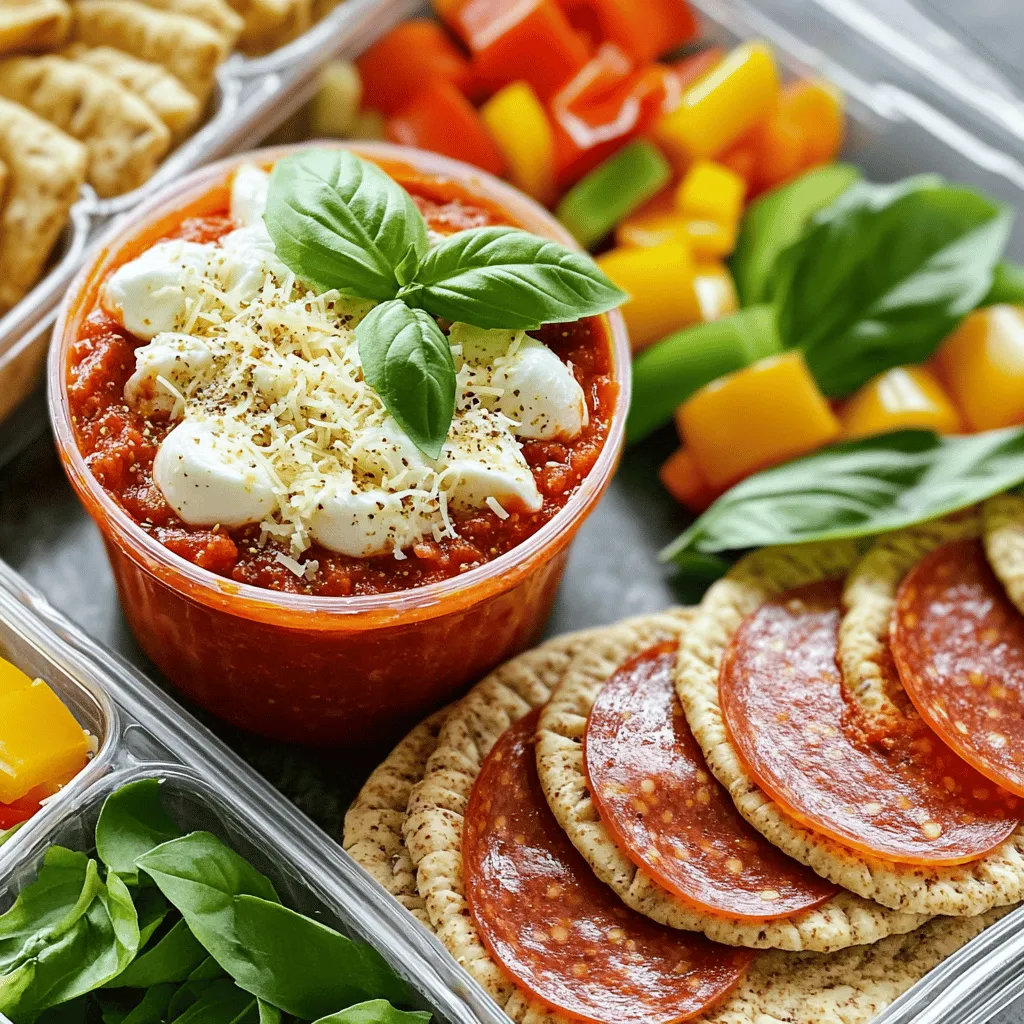
Looking for a fun and easy lunch idea for your kids? DIY Pizza Lunchables are the answer! With simple ingredients like whole grain pita, marinara sauce, and mozzarella cheese, you’ll create a customizable meal that kids will love. Plus, they get to build their own pizzas, making lunchtime exciting. Follow along for step-by-step instructions and tips to make this kid-friendly meal a hit!
Ingredients
List of Essential Ingredients
– Whole grain pita bread
– Marinara sauce
– Shredded mozzarella cheese
Optional Toppings
– Pepperoni slices
– Diced bell peppers
– Cooked sausage
Seasoning and Garnish
– Grated Parmesan cheese
– Italian seasoning
– Fresh basil leaves
When making DIY Pizza Lunchables, gather your essential ingredients first. Whole grain pita bread serves as the perfect base. It’s soft and holds toppings well. Marinara sauce adds that classic pizza flavor. Shredded mozzarella cheese melts beautifully and gives that gooey texture we all love.
Next, think about optional toppings. Pepperoni slices are a popular choice. They bring a nice, savory taste. Diced bell peppers add a fresh crunch and color. You might also like cooked sausage for a heartier option.
Don’t forget seasoning and garnish. Grated Parmesan cheese enhances the flavor. A sprinkle of Italian seasoning gives a nice aroma. Fresh basil leaves can add a pop of green and a hint of freshness.
For the complete recipe, check the Full Recipe section. This will guide you through creating these fun and tasty lunchables!
Step-by-Step Instructions
Preparing the Base
Start by cutting the whole grain pita bread. Use a round cookie cutter or a knife to make mini pizza shapes. Aim for rounds or squares about the size of your palm. This will create the perfect base for your pizza lunchables. You can even let your kids help with this part. They will love making their own shapes!
Assembling the Sauce and Cheeses
Next, spoon marinara sauce into small containers. Each child can have their own sauce to dip or spread. In another container, mix shredded mozzarella cheese and grated Parmesan cheese. This combo gives a rich, cheesy flavor. Kids can sprinkle this mix on their pizzas as they build them.
Organizing Toppings and Seasoning
Now, pack the pepperoni slices and any other toppings in separate compartments. You can use diced bell peppers, olives, or cooked sausage. Kids enjoy choosing their favorite toppings. Lastly, prepare a small container with Italian seasoning. This adds a nice flavor boost. They can sprinkle it on their mini pizzas before enjoying their creations.
Tips & Tricks
Customization Options
You can change up the ingredients to suit your taste. Here are some ideas:
– Alternate Breads: Try using mini bagels or tortillas for fun textures.
– Vegetarian Choices: Replace pepperoni with diced bell peppers, olives, or mushrooms. This makes it healthy and tasty!
Serving Suggestions
Make the meal more fun with these ideas:
– Side Dishes: Serve with baby carrots, cucumber slices, or fruit skewers. These add color and crunch.
– Creative Presentation: Arrange the pizza components in a fun way. Use colorful containers to spark excitement for kids.
Microwave Tips
If you want warm, gooey pizza, here’s how to do it right:
– Warming Instructions: Heat the assembled pizza in the microwave for 15-20 seconds. This is just long enough to melt the cheese.
– Ideal Cheese Melt: Watch closely while it warms. You want the cheese to be soft but not bubbling. Perfect melt means happy kids!

Variations
Different Bread Options
You can use many types of bread for your DIY Pizza Lunchables. Mini bagels are fun and chewy. They make a great base for your pizzas. Tortillas are another great choice. They add a nice twist and are easy to roll. For those who need gluten-free options, look for gluten-free pita bread or tortillas. They work just as well and taste great.
Alternative Sauces
Don’t be afraid to try different sauces. Pesto adds a fresh flavor and pairs well with veggies. Alfredo sauce brings a creamy touch that kids may love. You can also make your own sauces. Mixing canned tomatoes, garlic, and herbs makes a tasty homemade pizza sauce. This way, you can control the flavors and ingredients.
Fun Themes
Make your DIY Pizza Lunchables even more exciting by creating fun themes. For a BBQ theme, use BBQ sauce and chicken. Hawaiian flavors work well with ham and pineapple. You can even use seasonal ingredients like fresh tomatoes in summer or pumpkin in fall. This not only keeps meals fresh but also introduces kids to new tastes.
Storage Info
Best Practices for Storage
To keep your DIY Pizza Lunchables fresh, store them in airtight containers. This prevents air from getting in and keeps the ingredients from drying out. You can pack each component separately. This way, the pita bread stays soft, and the cheese melts perfectly when you eat.
Storage Duration
These lunchables can last in the fridge for about three days. If you want them to last longer, consider freezing them. Just make sure to wrap each component tightly. You can freeze the pita bread and toppings together, but keep the sauce separate. This way, they stay fresh for up to a month.
Reheating Tips
When you’re ready to eat, you can reheat them safely. Use the microwave for about 15-20 seconds. This keeps the pita warm and helps the cheese melt just right. Avoid long microwave times to prevent rubbery cheese. Enjoy them warm for the best taste experience!
FAQs
Can I use regular pizza sauce instead of marinara?
Yes, you can use regular pizza sauce. Both sauces offer great flavor. However, they differ in taste and texture. Marinara has a fresh tomato flavor with herbs. It’s often smoother and less thick than pizza sauce. Pizza sauce tends to be richer and thicker. If you want a nice change, try pizza sauce. It adds a fun twist to your DIY pizza lunchables.
How many servings does this recipe make?
This recipe makes four servings. Each serving is based on one mini pita round. You get a nice amount of sauce, cheese, and toppings to enjoy. If you want more, simply double the recipe. You can make more for a big family lunch or a playdate with friends.
Can I make these ahead of time?
Yes, you can make these ahead of time! Meal prep is easy with this recipe. Just assemble your ingredients in separate containers. Keep the pita bread, sauce, cheese, and toppings in airtight boxes. You can store them in the fridge for up to three days. This way, kids can build their lunchables whenever they want. It saves time on busy days!
This blog post covered how to create easy, fun mini pizzas using pita bread. You learned about key ingredients, optional toppings, and great ways to season your pizzas. I shared simple steps to prepare, assemble, and customize your mini pizzas. You now have handy tips for storage and reheating. Remember, this is a fun recipe, so get creative! Enjoy making these easy meals with your favorite flavors, and don’t hesitate to mix things up. Your mini pizzas can be delicious and customized, perfect for everyone.

