Are you ready to impress your friends with a sweet treat? Mini Crème Brûlée Cheesecakes offer a delightful blend of creamy cheesecake and a crunchy caramelized top. They are simple to make and sure to wow anyone with their charm. In this post, I’ll guide you through each step, share helpful tips, and offer fun variations. Let’s dive into creating these tasty little desserts that underscore your baking skills!
Ingredients
Full Recipe Overview
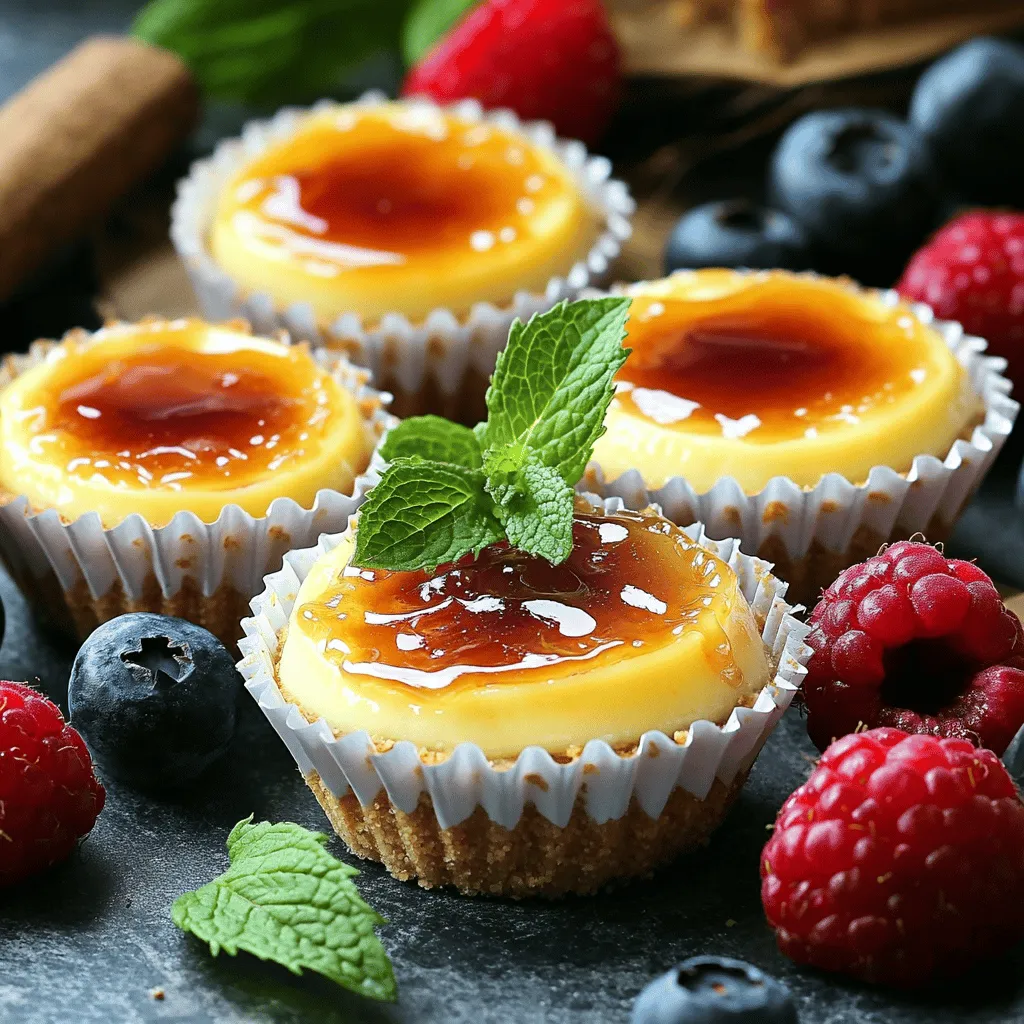
Mini Crème Brûlée Cheesecakes are a delightful twist on a classic dessert. They combine the creamy taste of cheesecake with a crunchy, caramelized topping. You can make them easily at home with the right ingredients.
List of Ingredients
– 1 cup graham cracker crumbs
– 3 tablespoons unsalted butter, melted
– 2 tablespoons granulated sugar
– 16 oz cream cheese, softened
– 1 cup granulated sugar
– 1 teaspoon vanilla extract
– 2 large eggs
– 1 cup heavy cream
– 2 tablespoons brown sugar (for topping)
Common Substitutions for Key Ingredients
If you need to make swaps, here are some ideas:
– Use cookie crumbs instead of graham crackers for a different crust.
– Swap unsalted butter with coconut oil for a dairy-free option.
– You can replace cream cheese with a vegan cream cheese for a plant-based version.
– Use maple syrup instead of granulated sugar for a unique flavor.
These substitutions keep the essence of the dessert while allowing you to cater to your needs. Feel free to experiment!
Step-by-Step Instructions
Preparation Steps
Baking the Graham Cracker Crust
Start by preheating your oven to 325°F (163°C). In a medium bowl, mix 1 cup of graham cracker crumbs, 3 tablespoons of melted butter, and 2 tablespoons of granulated sugar. Stir this mix until the crumbs are coated. Next, press the crumb mixture evenly into the bottom of 12 muffin cups lined with paper liners. Bake these for 10 minutes. Once done, take them out and let them cool.
Mixing the Cheesecake Batter
In a large bowl, beat 16 oz of softened cream cheese until it’s smooth. Gradually add 1 cup of granulated sugar while mixing. Then, pour in 1 teaspoon of vanilla extract. Add 2 large eggs, mixing well after each one. Finally, slowly add 1 cup of heavy cream and mix on low until your batter is creamy.
Baking Process
Cooling and Chilling Tips
Divide the cheesecake batter evenly into the baked crusts, filling each about 2/3 full. Bake for 25-30 minutes. The centers should be set but still slightly jiggly. After baking, let them cool to room temperature. Then, refrigerate the cheesecakes for at least 4 hours, or overnight if you have time. This helps them set completely.
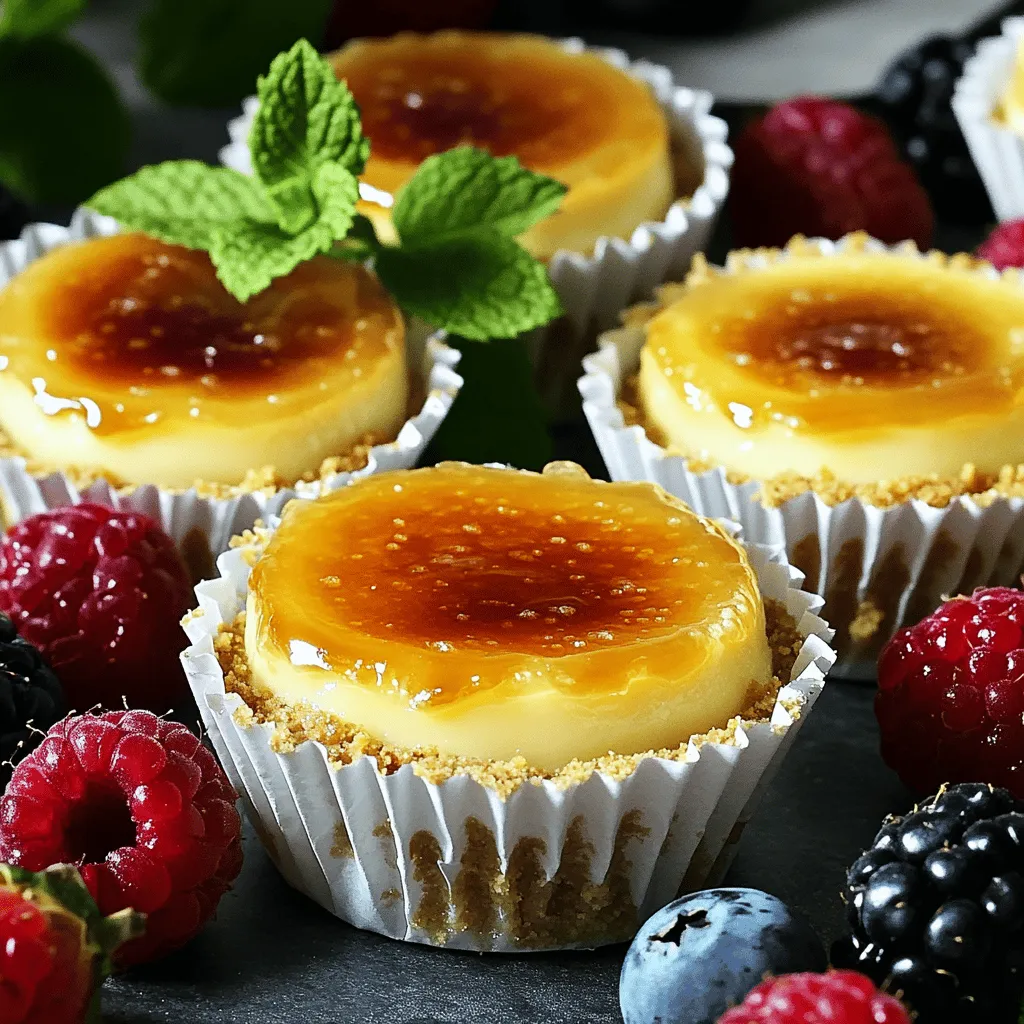
Caramelizing the Topping
Before serving, sprinkle a thin layer of brown sugar over each cheesecake. Using a kitchen torch, carefully caramelize the sugar until it turns golden and crispy. If you don’t have a torch, you can broil them in the oven for a couple of minutes. Make sure to watch them closely, so they don’t burn.
For the full recipe, check the provided link.
Tips & Tricks
Perfecting Your Cheesecakes
To make the best mini crème brûlée cheesecakes, avoid common mistakes. Here are some tips:
– Overmixing the Batter: Mix just until smooth. Overmixing adds too much air, leading to cracks.
– Skipping the Cooling Step: Always cool the cheesecakes to room temperature before chilling. This helps them set evenly.
– Not Preheating the Oven: Make sure your oven is at the right temperature before baking. This ensures proper rising.
Serving Suggestions
Garnish your mini cheesecakes for a beautiful finish. Here are some ideas:
– Fresh Berries: Add raspberries or strawberries on top. They add color and freshness.
– Mint Leaves: A sprig of mint gives a nice touch. It also adds a hint of flavor.
– Chocolate Shavings: For a rich look, sprinkle some chocolate shavings on top.
Tools Needed for Optimal Results
Using the right tools makes your baking easier. Here are some recommended kitchen tools:
– Muffin Tin: Choose a standard muffin tin for perfect portions.
– Mixing Bowls: Have a few different sizes for mixing ingredients.
– Kitchen Torch: Use this to caramelize the sugar. If you don’t own one, a broiler works too.
– Spatula: A rubber spatula helps you mix and scrape the bowl clean.
For the complete recipe, check out the Full Recipe section.
Variations
Flavor Modifications
You can make mini crème brûlée cheesecakes even better by adding fruit or chocolate. Fresh berries like strawberries or raspberries brighten up the flavor. You could also add chocolate chips for a rich twist. Just fold in about half a cup of your chosen fruit or chocolate into the cheesecake batter before baking. This small change adds a fun surprise in every bite.
Dietary Adaptations
If you need gluten-free or dairy-free options, you can still enjoy these treats. For a gluten-free crust, use crushed gluten-free cookies or oats instead of graham crackers. To make it dairy-free, swap cream cheese with a dairy-free alternative, like cashew cream. Coconut cream works well as a substitute for heavy cream. These adaptations keep the fun without losing flavor.
Other Serving Styles
Want to serve your cheesecakes in a different way? Try mini cheesecake parfaits or jars. Layer the crust, cheesecake filling, and toppings in clear jars. This makes a pretty display for parties or gatherings. You can even add granola or more fruit between the layers. It’s a fun way to enjoy this classic dessert. For the full recipe, check out the detailed instructions above!
Storage Info
Proper Refrigeration Techniques
Store your mini crème brûlée cheesecakes in the fridge. They stay fresh for up to five days. Keep them in an airtight container to prevent drying out. If you leave them uncovered, they may absorb other smells from the fridge. To serve, just take them out and enjoy!
Freezing Mini Cheesecakes
You can freeze these mini cheesecakes too! Wrap each one tightly in plastic wrap. Place them in a freezer-safe container. They can last up to two months in the freezer.
When you want to eat them, take them out and place them in the fridge overnight. This method helps them thaw slowly. Avoid using the microwave, as it might change the texture. Enjoy your tasty treat whenever you like! For the full recipe, check out the complete details above.
FAQs
Common Questions About Mini Crème Brûlée Cheesecakes
Can I make these cheesecakes ahead of time?
Yes, you can make mini crème brûlée cheesecakes ahead of time. They taste great after chilling. I recommend making them a day before serving. This way, the flavors have time to blend. Just store them in the fridge until you are ready to serve.
Troubleshooting Tips
Why is my cheesecake cracking?
Cracks in your cheesecake can happen for a few reasons. First, if you bake it too long, it can dry out and crack. Make sure to check for doneness. You want the centers to be slightly jiggly. Another tip is to avoid over-mixing your batter. Mixing too much can add air, which creates cracks as it bakes.
Serving Temperature and Texture
Do these cheesecakes need to be served cold?
These mini cheesecakes are best served cold. Chilling them helps set the texture. It also makes the topping crisp and nice. Before serving, you can torch the sugar for that classic brûlée effect. This gives a warm contrast to the cold cheesecake. Enjoy them chilled for the best experience!
I covered everything you need to know about making mini crème brûlée cheesecakes. You learned the key ingredients, step-by-step instructions, and vital tips for success. We also explored fun variations and how to store your treats. Each part helps you create a tasty dessert that impresses. Remember, practice makes perfect, so don’t be afraid to experiment. Enjoy making these delightful cheesecakes, and share them with friends and family!
