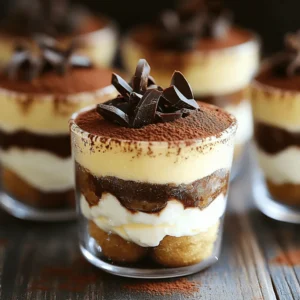
If you love coffee and dessert, you’ll adore these Mini Tiramisu Cups! They’re simple to make and packed with flavor. With just a few ingredients, you can create a delightful treat that impresses everyone. Whether you want a fun dessert for a gathering or a sweet snack, these cups fit the bill. Join me as we dive into this easy recipe that will surely satisfy your cravings!
Ingredients
Main Ingredients for Mini Tiramisu Cups
– 1 cup strong brewed coffee, cooled
– 1 cup mascarpone cheese
– 1 cup heavy cream
– 1 cup ladyfinger cookies, crushed
Additional Flavor Enhancers
– 1 teaspoon vanilla extract
– 1/2 cup powdered sugar
– Unsweetened cocoa powder for dusting
– Dark chocolate shavings for garnish
Equipment Needed
– Mixing bowls
– Whisk or electric mixer
– Shallow bowl for soaking ladyfingers
– Serving cups or jars
When making mini tiramisu cups, you need simple yet key ingredients. First, the strong brewed coffee adds that rich flavor we all love. Then, mascarpone cheese gives the dessert its creamy texture. Heavy cream is vital for the lightness of the layers. Don’t forget the ladyfinger cookies; they soak up coffee and add to the fun.
For extra flavor, use vanilla extract. This lifts the taste and adds warmth. Powdered sugar is your sweet touch, balancing the coffee’s strong taste. Dusting with unsweetened cocoa powder adds a hint of bitterness. Lastly, dark chocolate shavings bring elegance and richness.
You will also need some basic tools. Mixing bowls help you combine the ingredients. A whisk or electric mixer makes whipping cream easy. Use a shallow bowl for soaking ladyfingers, and serve your creation in cups or jars. This lets everyone see the beautiful layers. For the full recipe, check out the instructions above.
Step-by-Step Instructions
Preparing the Coffee Mixture
Start by brewing your strong coffee. Once it cools, mix it with vanilla extract in a shallow bowl. This will give your tiramisu a rich flavor. Set this mixture aside for later use.
Combining the Cream and Mascarpone
In a mixing bowl, whip the heavy cream and powdered sugar together. Keep whisking until you see soft peaks form. This step is key for a light and fluffy texture. Now, gently fold the mascarpone cheese into your whipped cream. Be careful not to deflate the mixture. You want it to stay airy and light.
Assembling the Mini Tiramisu Cups
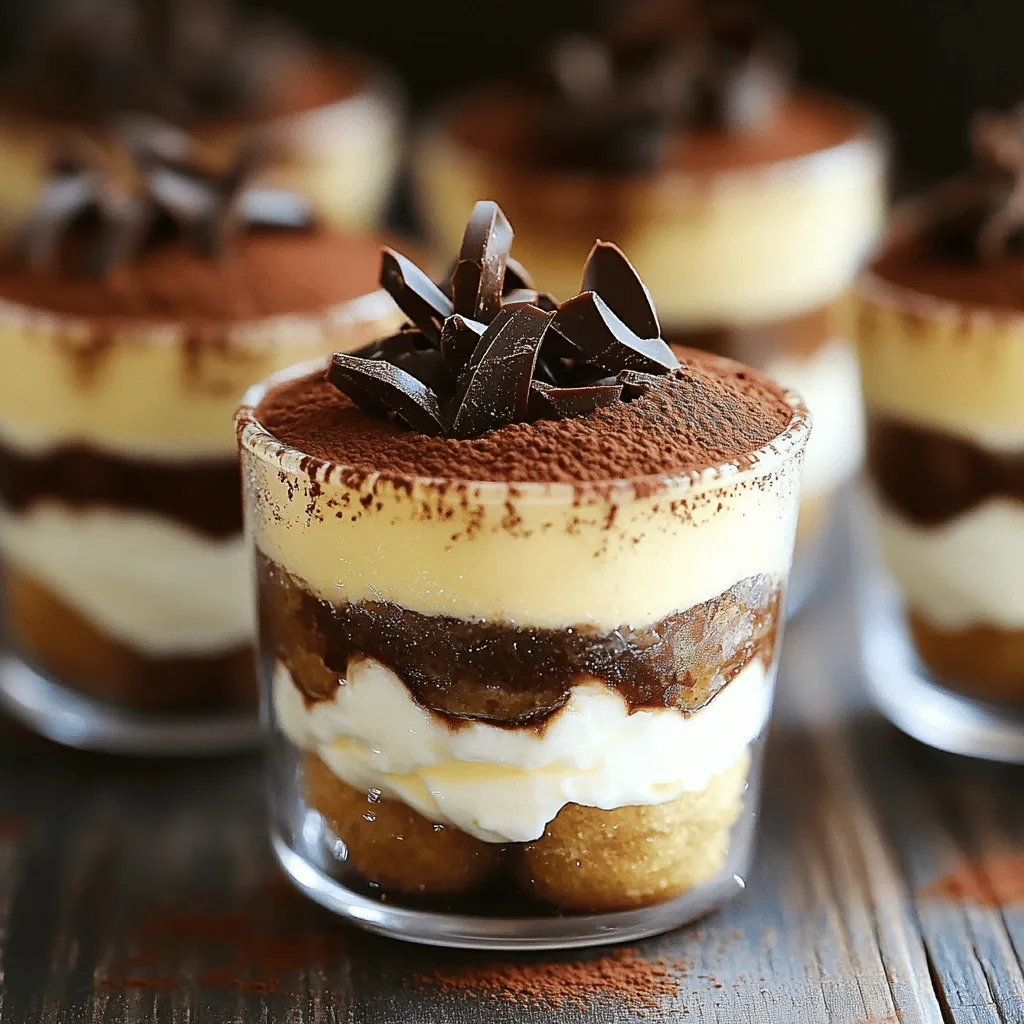
Quickly dip each ladyfinger into the coffee mixture. Make sure they soak a bit but do not get soggy. Place the soaked ladyfingers at the bottom of your serving cup. Next, add a layer of the mascarpone mixture over the ladyfingers. Smooth it out with a spatula. Repeat these layers until you fill each cup, ending with the mascarpone layer on top. Cover the cups with plastic wrap and refrigerate them for at least four hours. This waiting time allows all the flavors to blend nicely. Before serving, dust the tops with cocoa powder and add dark chocolate shavings for a lovely finish. For the full recipe, check out the details above.
Tips & Tricks
Ensuring Perfect Layers
To make mini tiramisu cups, you need great layers. First, do not soak the ladyfingers too long. Just a quick dip in the coffee mixture is enough. If they get too soggy, they will fall apart. You want them soft but still sturdy.
Next, manage the texture of the mascarpone mixture. Make sure to whip the cream to soft peaks. This keeps the mixture light and fluffy. When you fold the mascarpone into the whipped cream, do it gently. You want to keep that airy texture.
Serving Suggestions
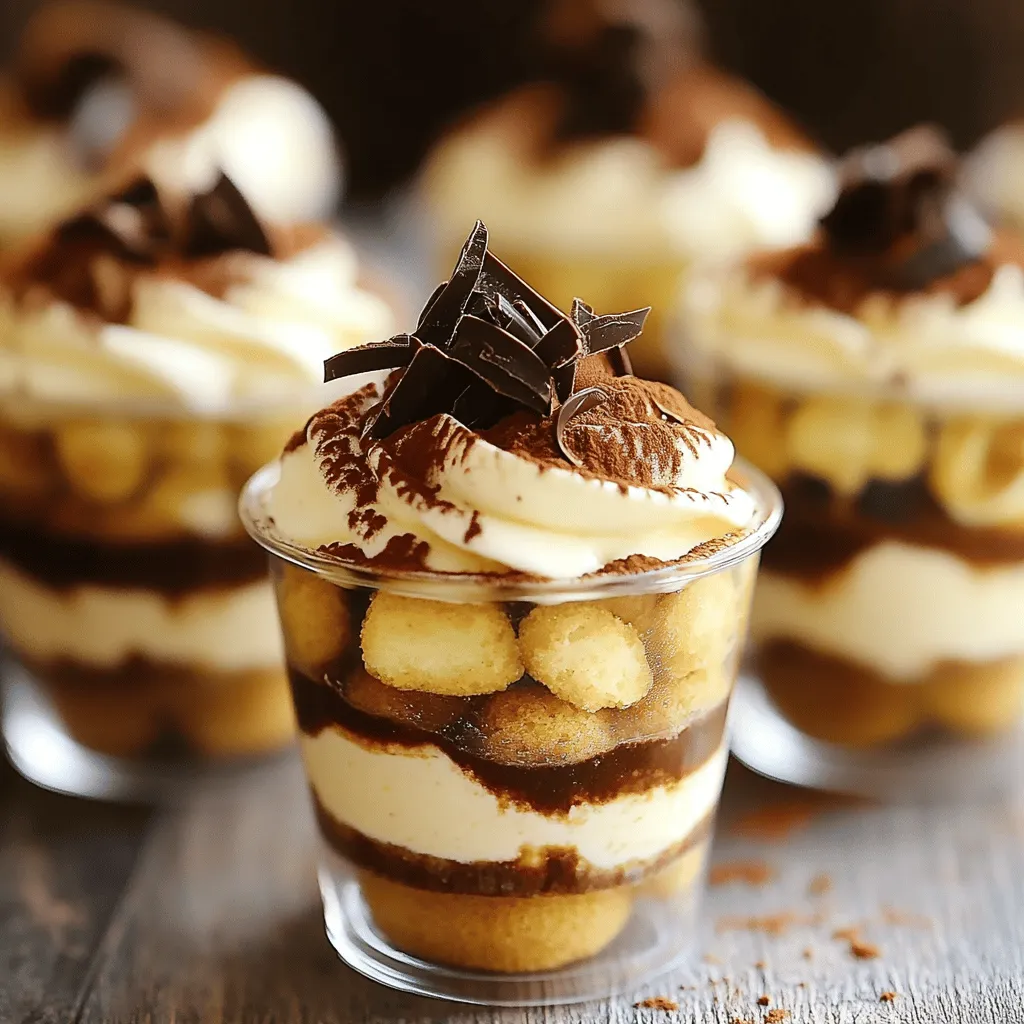
Presentation matters! Serve your mini tiramisu in clear cups or small jars. This way, everyone can see those lovely layers. For extra flair, add a coffee bean or a mint leaf on top. You can even sprinkle some cocoa powder on the surface. This gives it a nice finish and looks very inviting.
Time Management
If you’re having a gathering, prepare these cups ahead of time. You can make them a day before. This saves you time and stress on the day of your event. Just remember to refrigerate them. They need at least 4 hours to chill. For the best taste, letting them sit overnight is ideal. This allows all the flavors to blend nicely.
For the full recipe, check the detailed instructions. Enjoy making these delightful treats!
Variations
Alternative Flavors
You can make mini tiramisu cups with different flavors. Try matcha tiramisu cups for a fun twist. Matcha adds a mild, earthy taste that pairs well with the creamy layers. Just replace some mascarpone with matcha powder.
Chocolate tiramisu cups are another great option. Use chocolate-flavored ladyfingers or add cocoa powder to the cream. This version gives a rich, sweet taste that chocolate lovers will adore.
Dietary Adjustments
For those needing gluten-free options, use gluten-free ladyfinger cookies. Many brands offer these, so finding them is easy. They keep the texture light and airy, just like regular ladyfingers.
If you want a vegan version, swap the mascarpone and cream for coconut cream or cashew cream. Both options give a rich, creamy texture. Use maple syrup instead of powdered sugar for sweetness.
Creative Serving Ideas
Serve mini tiramisu cups as mini tiramisu cake bites. Stack layers in a small square mold and cut them into bite-sized pieces. This way, everyone gets a taste.
You can also make tiramisu parfaits with fruit layers. Add fresh berries or bananas between the layers of cream. This adds color and a pop of flavor. You can find the full recipe and more tips to explore these variations.
Storage Info
Proper Refrigerator Storage
To keep your mini tiramisu cups fresh, use airtight containers. Glass jars work great. You can also use plastic containers with tight lids. Store them in the fridge right after making them. They stay good for about three days. After that, the layers may lose their texture and flavor.
Freezing Mini Tiramisu Cups
You can freeze mini tiramisu cups for later. First, wrap each cup in plastic wrap. Then, place them in a freezer-safe container. They can stay frozen for up to a month. To thaw, move them to the fridge for several hours. Do not thaw at room temperature. This helps keep the quality intact.
Signs of Spoilage
Check for signs of spoilage before serving. If you see any mold, throw them away. Also, if they smell sour or off, do not eat them. The texture may change. If the layers look watery, it’s best to discard them. Always trust your senses when it comes to food safety.
FAQs
How long should I refrigerate mini tiramisu cups?
Refrigerate mini tiramisu cups for at least four hours. This time lets the flavors blend well. For the best taste, try to leave them overnight. The longer they chill, the richer the taste becomes. This waiting period allows the ladyfingers to soak up the coffee flavor. It also helps the mascarpone mix thicken and firm up a bit. You want a creamy texture that holds its shape when you serve them.
Can I make mini tiramisu cups ahead of time?
Yes, you can make mini tiramisu cups ahead of time. They are perfect for parties or gatherings. Prepare them one or two days in advance for the best flavor. Just remember to cover them well before refrigerating. This keeps them fresh and prevents any off-flavors. When you’re ready to serve, dust with cocoa and add chocolate shavings. They will taste just as delicious, if not better!
Where can I buy mini tiramisu cups if I don’t want to make them?
You can find mini tiramisu cups at many grocery stores. Check the frozen dessert section first, as many brands sell them. Some bakeries also offer fresh mini tiramisu cups. If you’re looking for a quick option, online retailers may have them too. Just make sure to read reviews to find the best ones. Enjoying a ready-made option can save you time, but homemade always tastes special!
Mini tiramisu cups are easy to make and delicious. We covered the key ingredients, like coffee and mascarpone, along with helpful tips. Assembling and storing them properly helps maintain flavor. Feel free to explore variations and alternatives that suit your taste. Preparing ahead ensures you enjoy these treats without stress. With practice, you’ll impress everyone with your tasty creations. Try making them today, and watch how smiles appear around the table. Enjoy every bite!