WANT TO SAVE THIS RECIPE?
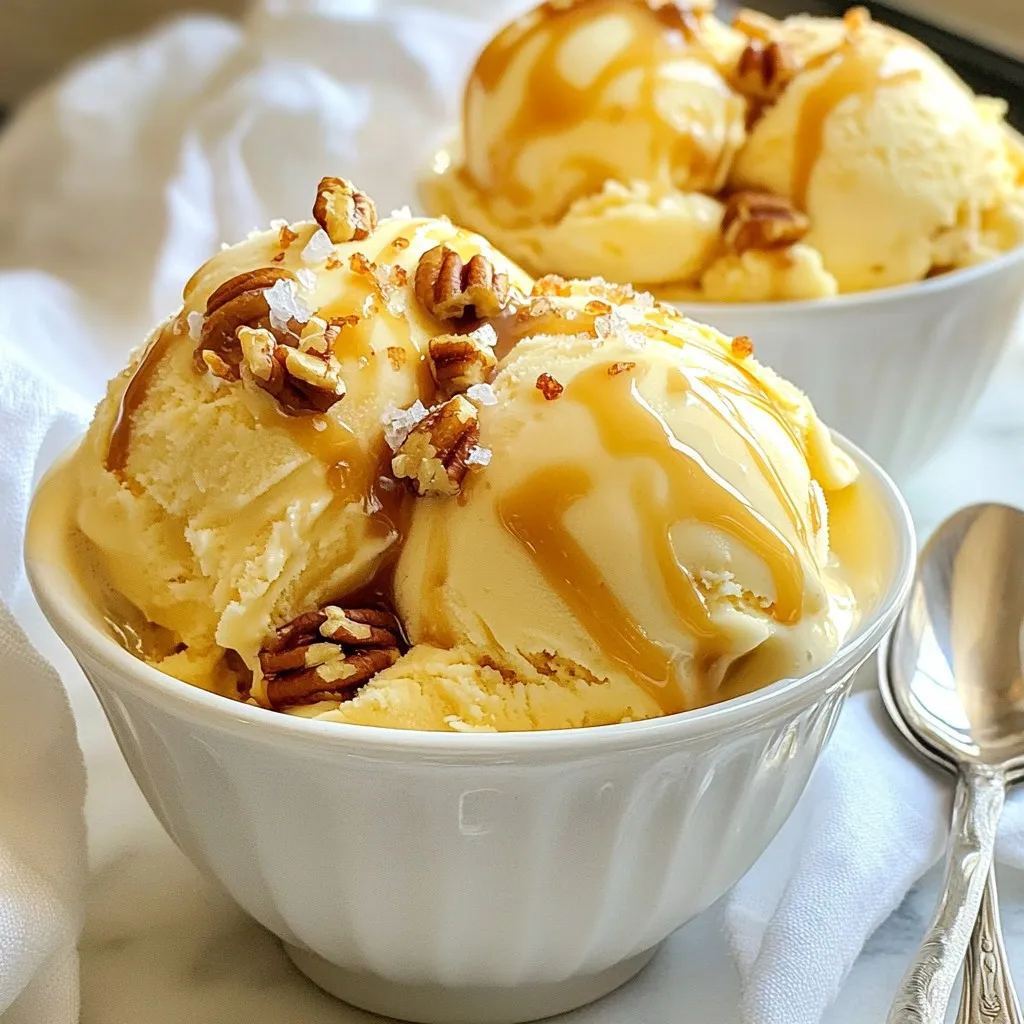
Craving a sweet, creamy treat without the hassle of an ice cream maker? You’re in luck! My No-Churn Salted Caramel Ice Cream is a simple delight you can whip up with just a few ingredients. With rich flavors and a smooth texture, it’s the perfect dessert for any occasion. Let me show you how to make this easy, mouthwatering treat that will impress your friends and family.
Why I Love This Recipe
- Simple to Make: This no-churn recipe means you don’t need an ice cream maker, making it accessible for everyone.
- Decadent Flavor: The combination of heavy cream and salted caramel creates a rich and creamy ice cream that’s hard to resist.
- Customizable: Add your favorite mix-ins like nuts or chocolate chips to make it uniquely yours!
- Perfect for Any Occasion: This ice cream is a delightful treat that can elevate any dessert table or be enjoyed on a cozy night in.
Ingredients
List of Ingredients
– 2 cups heavy cream
– 1 can (14 oz) sweetened condensed milk
– 1/2 cup salted caramel sauce
– 1 teaspoon vanilla extract
– Pinch of sea salt
– Optional: Chopped nuts (like pecans or almonds)
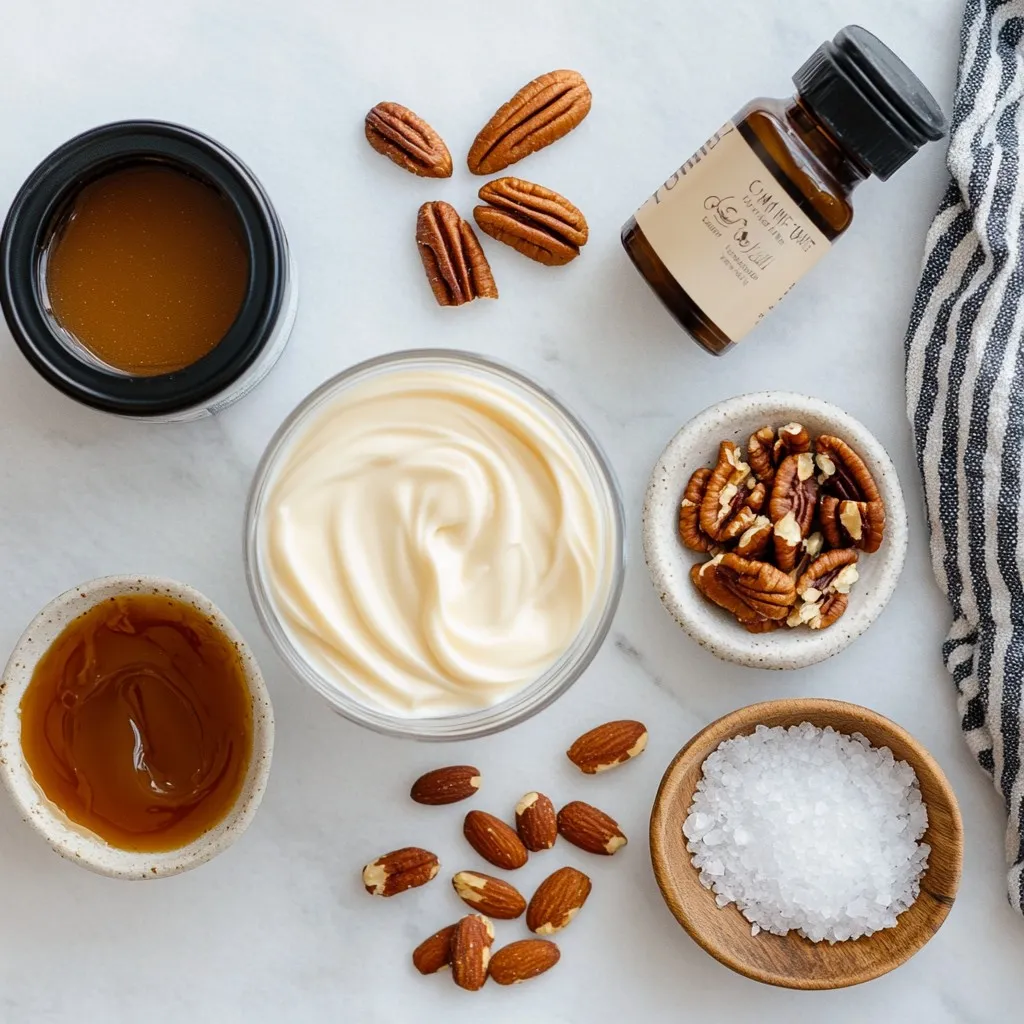
To make this no-churn salted caramel ice cream, you need simple ingredients. Start with heavy cream. This gives the ice cream a rich and creamy base. Next, grab a can of sweetened condensed milk. This sweetens the mix and adds creaminess.
You will also need salted caramel sauce. You can make your own or buy it. This sauce is the star of the show. It brings that sweet and salty flavor that we all love. Don’t forget vanilla extract. It adds depth to the taste. A pinch of sea salt enhances the sweet flavors too.
If you like a bit of crunch, consider adding chopped nuts. Pecans or almonds work well. They add texture and extra flavor. Now that you have the list, you’re ready to create this delightful treat!
Step-by-Step Instructions
Whipping the Heavy Cream
Start with a large mixing bowl. Pour in 2 cups of heavy cream. Use an electric mixer for best results. Mix on high speed for about 3 to 5 minutes. You want to see stiff peaks form. This means the cream holds its shape well. Be patient; this step is key for light ice cream.
Preparing the Caramel Mixture
In another bowl, combine 1 can of sweetened condensed milk, 1/2 cup of salted caramel sauce, 1 teaspoon of vanilla extract, and a pinch of sea salt. Mix these ingredients together until they are well combined. This mixture brings rich flavor to your ice cream. The sweetened condensed milk adds creaminess. The caramel adds that delicious sweet and salty taste.
Folding Techniques
Now, it’s time to combine the two mixtures. Take the whipped cream and gently fold it into the caramel mixture. Use a spatula and a light hand to avoid deflating the whipped cream. This keeps the ice cream fluffy. If you want some crunch, you can fold in optional chopped nuts like pecans or almonds at this stage.
Tips & Tricks
Achieving the Perfect Texture
To get the right texture for your no-churn salted caramel ice cream, start by whipping the cream. Use an electric mixer to whip the heavy cream until stiff peaks form. This usually takes about 3 to 5 minutes. The cream should be thick and hold its shape well.
Be careful not to over-mix the cream. If you whip it too long, it can turn into butter. This will ruin the smooth and creamy texture we want in our ice cream.
Serving Suggestions
Scooping ice cream can be tricky. To make it easier, let the ice cream sit at room temperature for about 5 to 10 minutes before you scoop. This helps soften it just enough for easy serving.
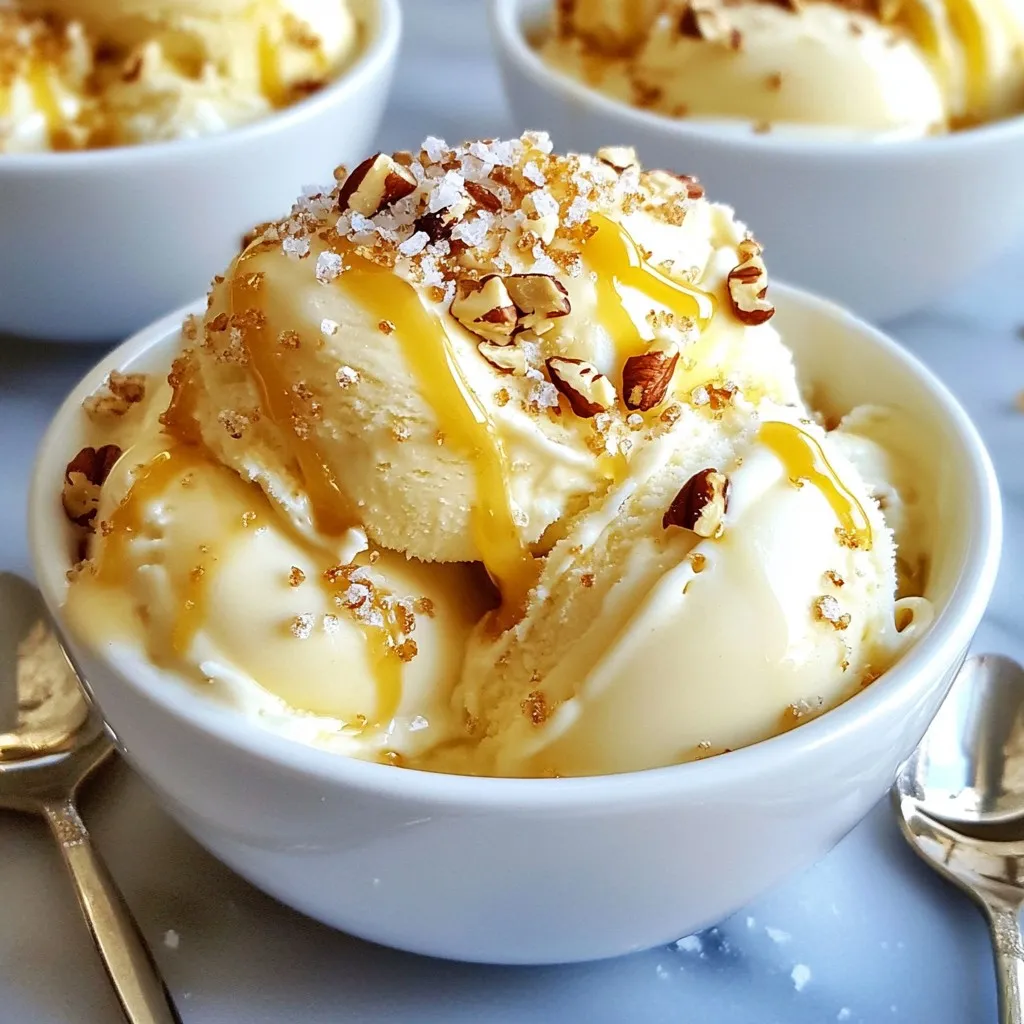
When serving, get creative with your presentation. Drizzle extra salted caramel sauce on top for a beautiful look. You can also add a sprinkle of sea salt and some chopped nuts for extra crunch and flavor.
Adjusting Sweetness
Finding the right balance in sweetness is key. If you find the ice cream too sweet, you can add a pinch of sea salt. This will enhance the flavor and cut down on the sweetness.
For the caramel sauce, feel free to use store-bought or homemade. If you want a deeper flavor, try using a darker caramel sauce. This will add a richer taste to your ice cream.
Pro Tips
- Use Cold Ingredients: For the best texture, make sure your heavy cream and mixing bowl are chilled before whipping. This helps achieve the stiff peaks needed for a fluffy ice cream.
- Homemade Caramel Sauce: If you have the time, try making your own salted caramel sauce. It adds a personal touch and you can adjust the saltiness to your preference.
- Customize Your Mix-ins: Feel free to experiment with different mix-ins like chocolate chips, crushed cookies, or dried fruits to create your unique flavor combinations.
- Storage Tips: To prevent ice crystals from forming, cover the surface of the ice cream with plastic wrap before sealing the container. This helps maintain a creamy texture.
Variations
Flavor Additions
You can change this no-churn salted caramel ice cream to fit your mood. Try adding different flavors for fun. Here are a few ideas:
– Vanilla Bean: Use real vanilla bean. Scrape the seeds into the cream. This adds a rich taste.
– Chocolate: Add melted chocolate to the caramel mix. It makes a sweet twist.
– Fruits: Consider mixing in fruits like strawberries or bananas. They add a fresh feel.
Dietary Adjustments
You can adapt this recipe to fit different diets. Here are some options:
– Dairy-Free or Vegan: Use coconut cream instead of heavy cream. Substitute sweetened condensed milk with coconut milk. This keeps it creamy and delicious.
– Low-Sugar: Try sugar-free sweetened condensed milk. You can also use a low-sugar caramel sauce. This way, you enjoy the flavor without too much sugar.
Nut Variants
Nuts can add a nice crunch to your ice cream. Here’s how to adjust:
– Using Nuts: Almonds or walnuts work well. Chop them into small pieces and fold them in. They add great texture and flavor.
– Nut-Free Version: Just leave out the nuts. This ice cream tastes great without them. It makes it safe for those with nut allergies.
Storage Info
Freezing Instructions
To store your no-churn salted caramel ice cream, use a freezer-safe container. A plastic or glass container works best. Make sure it has a tight-fitting lid. This helps keep the ice cream fresh and prevents ice crystals. Before pouring in the ice cream, smooth the top with a spatula. This makes it easy to scoop later.
Shelf Life
Your ice cream will last about 2 to 3 weeks in the freezer. After that, its taste and texture may change. Look for signs of spoilage. If you see ice crystals or if it smells off, it’s time to toss it. Always keep it covered to avoid freezer burn.
Re-freezing Tips
If you thaw your ice cream, you can re-freeze it. Just make sure it’s tightly covered. When you re-freeze, the texture may change slightly. It might become a bit icier, but it will still taste great. To avoid this, try to scoop only what you need at one time.
FAQs
Can I use regular caramel instead of salted?
Yes, you can use regular caramel. However, it will change the flavor. Salted caramel adds depth to the ice cream. It balances sweetness with a slight saltiness. This makes each bite more exciting. If you prefer regular caramel, consider adding a pinch of salt to the mix.
How can I make this recipe without an electric mixer?
You can make this ice cream without an electric mixer. Use a whisk to whip the cream by hand. It takes more effort, but it works well. Be patient and whip until you see stiff peaks. You can also use a jar with a tight lid. Shake the jar vigorously until the cream thickens.
Can I add mix-ins like chocolate chips?
Absolutely! Adding mix-ins is a fun way to customize your ice cream. Chocolate chips, nuts, or even cookie pieces work great. Just fold them in gently after mixing the whipped cream. This way, you keep the airy texture of the ice cream.
This blog post shared a fun and easy way to make delicious caramel ice cream. You learned about the key ingredients, from heavy cream to sweetened condensed milk, and how to whip them into a smooth treat. The tips helped you avoid mistakes and served up great ideas for variations, like adding fruits or nuts. Remember, you can adjust sweetness to fit your taste. Now, you have the tools to create your own unique flavors. Start making this treat and enjoy each scoop with friends and famil
No-Churn Salted Caramel Ice Cream
A deliciously creamy and easy-to-make ice cream with a rich salted caramel flavor, no ice cream maker required.
Course Dessert
Cuisine American
Servings 6
Calories 300 kcal
- 2 cups heavy cream
- 1 can sweetened condensed milk (14 oz)
- 1/2 cup homemade or store-bought salted caramel sauce
- 1 teaspoon vanilla extract
- 1 pinch sea salt
- optional chopped nuts (like pecans or almonds) for texture
In a large mixing bowl, whip the heavy cream using an electric mixer until stiff peaks form (about 3-5 minutes).
In another bowl, combine the sweetened condensed milk, salted caramel sauce, vanilla extract, and a pinch of sea salt. Mix until well combined.
Gently fold the whipped cream into the caramel mixture using a spatula. Be careful not to deflate the whipped cream—use a light hand.
If using, fold in the chopped nuts for added crunch.
Pour the mixture into a freezer-safe container, smoothing out the top with a spatula.
Drizzle additional salted caramel sauce on top for decoration.
Cover the container tightly and freeze for at least 6 hours or until firm.
Prior to serving, let the ice cream sit at room temperature for about 5-10 minutes for easier scooping.
Serve in dessert bowls and drizzle with extra salted caramel. Top with a sprinkle of sea salt and a few chopped nuts for a visual crunch!
Keyword dessert, ice cream, no-churn, salted caramel
WANT TO SAVE THIS RECIPE?