Quick Pickled Green Beans Crunchy and Flavorful Snack

WANT TO SAVE THIS RECIPE?

Looking for a crunchy and flavorful snack? Quick pickled green beans are the answer! They’re easy to make and packed with taste. In this blog post, I’ll guide you through simple steps to create these crunchy delights. I’ll share tips for perfecting flavor and storage, plus fun variations. Whether you serve them as a snack or a side dish, these pickled green beans will be a hit! Let’s dive in!

Ingredients

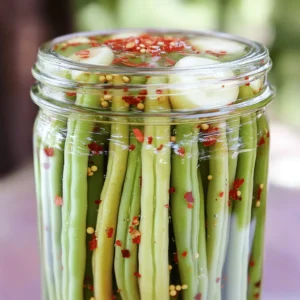
Essential Ingredients for Quick Pickled Green Beans

To make quick pickled green beans, you’ll need the following items:

– 1 pound fresh green beans, trimmed

– 1 cup white vinegar

– 1 cup water

– 1 tablespoon granulated sugar

– 1 tablespoon sea salt

– 2 cloves garlic, sliced

– 1 teaspoon red pepper flakes

– 1 teaspoon mustard seeds

– ½ teaspoon black peppercorns

These ingredients blend together to create a zesty brine that gives the green beans a bright flavor and crunch.

Suggested Tools and Equipment

You don’t need fancy gadgets for this recipe. Here’s what I recommend:

– Medium saucepan

– Measuring cups and spoons

– Stirring spoon

– Clean, sterilized jars with lids

– Cutting board and knife

Having the right tools makes the process smoother and more fun.

Optional Ingredients for Custom Flavor

Feel free to get creative! Here are some optional ingredients you might try:

– Fresh dill for a herby taste

– Sliced jalapeños for extra heat

– Carrots or radishes for added crunch

These options let you personalize your pickles to fit your taste. The full recipe gives you a great starting point. Enjoy making your own quick pickled green beans!

Step-by-Step Instructions

Preparing the Green Beans

To start, rinse your fresh green beans under cold water. This removes dirt and helps keep them crisp. Trim off the ends with a sharp knife. I like to set the trimmed beans aside in a bowl. This makes the next steps easier.

Making the Pickling Brine

In a medium saucepan, mix one cup of white vinegar with one cup of water. Then, add one tablespoon of granulated sugar and one tablespoon of sea salt. Slice two cloves of garlic and toss them in the pot. For some heat, add one teaspoon of red pepper flakes and one teaspoon of mustard seeds. Finally, include half a teaspoon of black peppercorns. Stir the mix well. Place the saucepan over medium heat. Bring it to a simmer while stirring until the sugar and salt dissolve. After this, let the brine cool for about ten minutes.

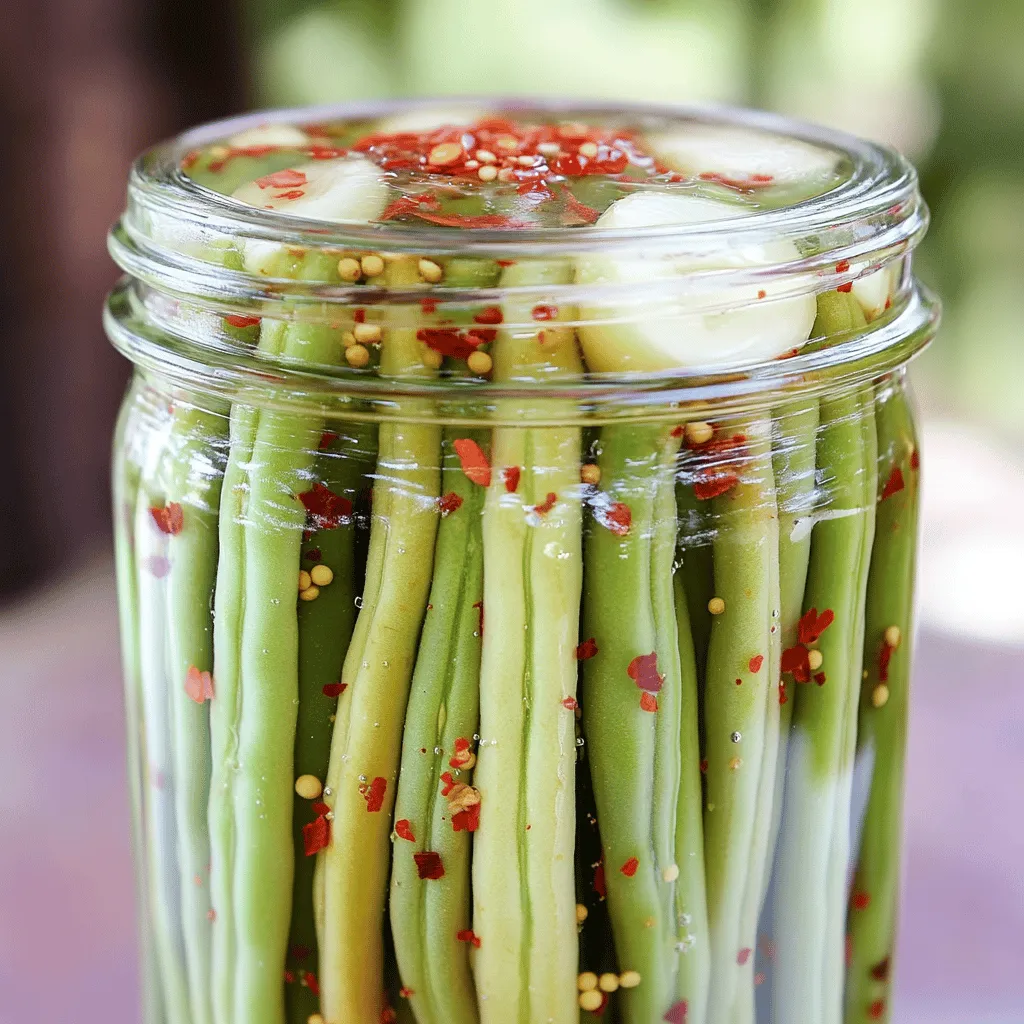
Packing and Refrigerating

While the brine cools, take clean jars and pack the green beans upright. This helps with style and makes them look nice. Once the brine is cool, pour it over the green beans. Make sure they are fully covered. Seal the jars with lids and place them in the fridge. Let the green beans pickle for at least four hours. For best flavor, wait a full day. For the full recipe, check out the earlier section.

Tips & Tricks

How to Achieve Perfect Crunchiness

To get that perfect crunch in your pickled green beans, choose fresh, firm beans. Look for bright green color and no soft spots. Trim the ends, but keep the beans long. This helps them stay crisp when you pack them in jars. You can also blanch them for one minute in boiling water. This quick step helps to lock in the crunch. After blanching, plunge them into ice water to stop the cooking process.

Common Mistakes to Avoid

One common mistake is not cooling the brine enough before pouring it over the beans. Hot brine can make the beans soft. Also, do not skip the salt. It helps with flavor and crunch. Make sure to pack the beans tightly in the jars but not too tight. They need some room for the brine to flow around them. Lastly, avoid using old beans. Fresh ones make a big difference in taste and texture.

Enhancing Flavor with Extra Spices

You can boost the flavor of your pickled green beans by adding spices. Try adding a bay leaf or some dill for a fresh twist. If you like heat, toss in more red pepper flakes. For a sweet touch, add a slice of ginger or even some sliced shallots. Experiment with these extras to find your favorite mix. Using the full recipe will help you see how these changes can elevate your dish.

Variations

Spicy Quick Pickled Green Beans

Want some heat? Add more red pepper flakes to the brine. You can also include sliced fresh jalapeños. This will give your green beans a spicy kick. Adjust the spice level to match your taste. I find that a little heat makes every bite exciting.

Sweet and Sour Pickled Green Beans

For a sweet twist, add extra sugar. Use honey or maple syrup for a different flavor. You can also mix in some sliced onions to add depth. This blend balances the tartness of vinegar and gives a rich taste. Sweet and sour green beans are a fun snack or side dish.

Pickled Green Beans with Herbs

You can infuse your green beans with fresh herbs. Try dill, thyme, or basil for a fresh taste. Add these herbs to the brine before heating. They will bring a lovely aroma and flavor to your pickled beans. This variation is great for those who love herbal notes in their food.

These variations let you explore new flavors while keeping that crunchy texture. You can find all the details in the full recipe.

Storage Info

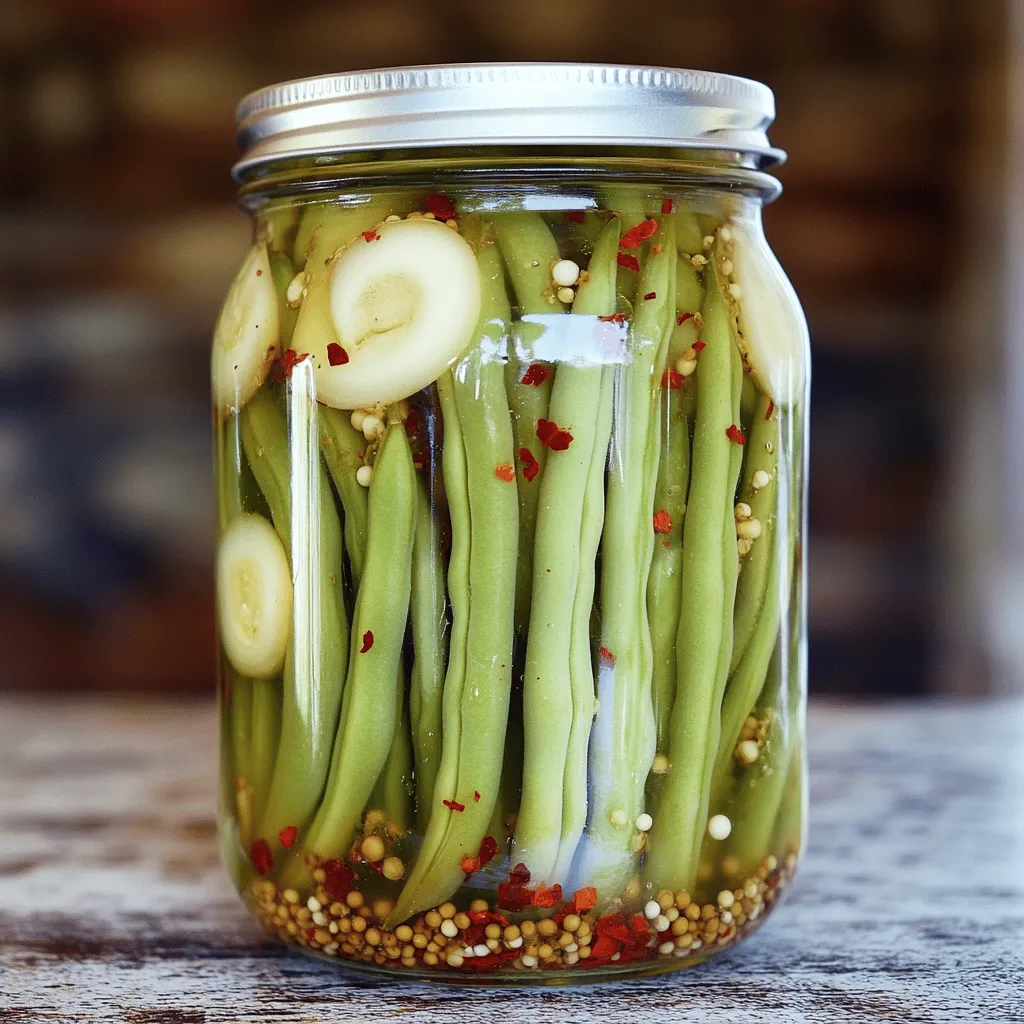
Best Practices for Storing Pickled Green Beans

To keep your pickled green beans fresh, store them in the fridge. Make sure they stay in a clean, sealed jar. The beans should stay covered with the brine. This helps keep them crunchy. Always use a clean utensil to take beans out. This stops germs from getting in.

Shelf Life and Freshness Tips

Quick pickled green beans can last for about two weeks in the fridge. After that, their taste and texture may change. For the best flavor, try to eat them within a week. If you want to keep them longer, consider canning them. Canned beans can last for months when stored in a cool, dark place.

How to Tell if Pickled Green Beans are Bad

Check for a few signs before eating your pickled green beans. If you see mold or the brine changes color, it’s time to toss them. A bad smell can also be a sign of spoilage. If the beans are mushy or have an off taste, do not eat them. Always trust your senses.

FAQs

How long do quick pickled green beans last in the refrigerator?

Quick pickled green beans last for about two weeks in the refrigerator. Store them in a tightly sealed jar. The brine helps keep them fresh. After a week, they taste even better as the flavors meld. If you notice any off smells, it’s best to toss them out.

Can I reuse the brine for other pickling?

Yes, you can reuse the brine for other pickling. However, it’s best to use it only once. The flavor will change with each use, but it can work well for other vegetables. Just make sure to strain out any bits of garlic or spices before reusing.

What dishes pair well with quick pickled green beans?

Quick pickled green beans add a nice crunch to many dishes. They work great in salads, tacos, or grain bowls. You can also serve them as a side or snack. Their tangy flavor complements grilled meats and fish. Try them on a charcuterie board for added color and zest!

Quick pickled green beans are simple and fun to make. You learned the basics, from essential ingredients to helpful tips for crunch. We discussed variations to suit your taste, and storage tips to keep them fresh. Remember, avoid common mistakes to ensure great flavor and texture. Enjoy exploring new flavors and dishes that pair well with your pickled beans. You now have the know-how to create delicious snacks or sides anytime. Get started today, and happy pickling!

To make quick pickled green beans, you'll need the following items: - 1 pound fresh green beans, trimmed - 1 cup white vinegar - 1 cup water - 1 tablespoon granulated sugar - 1 tablespoon sea salt - 2 cloves garlic, sliced - 1 teaspoon red pepper flakes - 1 teaspoon mustard seeds - ½ teaspoon black peppercorns These ingredients blend together to create a zesty brine that gives the green beans a bright flavor and crunch. You don’t need fancy gadgets for this recipe. Here’s what I recommend: - Medium saucepan - Measuring cups and spoons - Stirring spoon - Clean, sterilized jars with lids - Cutting board and knife Having the right tools makes the process smoother and more fun. Feel free to get creative! Here are some optional ingredients you might try: - Fresh dill for a herby taste - Sliced jalapeños for extra heat - Carrots or radishes for added crunch These options let you personalize your pickles to fit your taste. The full recipe gives you a great starting point. Enjoy making your own quick pickled green beans! To start, rinse your fresh green beans under cold water. This removes dirt and helps keep them crisp. Trim off the ends with a sharp knife. I like to set the trimmed beans aside in a bowl. This makes the next steps easier. In a medium saucepan, mix one cup of white vinegar with one cup of water. Then, add one tablespoon of granulated sugar and one tablespoon of sea salt. Slice two cloves of garlic and toss them in the pot. For some heat, add one teaspoon of red pepper flakes and one teaspoon of mustard seeds. Finally, include half a teaspoon of black peppercorns. Stir the mix well. Place the saucepan over medium heat. Bring it to a simmer while stirring until the sugar and salt dissolve. After this, let the brine cool for about ten minutes. While the brine cools, take clean jars and pack the green beans upright. This helps with style and makes them look nice. Once the brine is cool, pour it over the green beans. Make sure they are fully covered. Seal the jars with lids and place them in the fridge. Let the green beans pickle for at least four hours. For best flavor, wait a full day. For the full recipe, check out the earlier section. To get that perfect crunch in your pickled green beans, choose fresh, firm beans. Look for bright green color and no soft spots. Trim the ends, but keep the beans long. This helps them stay crisp when you pack them in jars. You can also blanch them for one minute in boiling water. This quick step helps to lock in the crunch. After blanching, plunge them into ice water to stop the cooking process. One common mistake is not cooling the brine enough before pouring it over the beans. Hot brine can make the beans soft. Also, do not skip the salt. It helps with flavor and crunch. Make sure to pack the beans tightly in the jars but not too tight. They need some room for the brine to flow around them. Lastly, avoid using old beans. Fresh ones make a big difference in taste and texture. You can boost the flavor of your pickled green beans by adding spices. Try adding a bay leaf or some dill for a fresh twist. If you like heat, toss in more red pepper flakes. For a sweet touch, add a slice of ginger or even some sliced shallots. Experiment with these extras to find your favorite mix. Using the full recipe will help you see how these changes can elevate your dish. {{image_2}} Want some heat? Add more red pepper flakes to the brine. You can also include sliced fresh jalapeños. This will give your green beans a spicy kick. Adjust the spice level to match your taste. I find that a little heat makes every bite exciting. For a sweet twist, add extra sugar. Use honey or maple syrup for a different flavor. You can also mix in some sliced onions to add depth. This blend balances the tartness of vinegar and gives a rich taste. Sweet and sour green beans are a fun snack or side dish. You can infuse your green beans with fresh herbs. Try dill, thyme, or basil for a fresh taste. Add these herbs to the brine before heating. They will bring a lovely aroma and flavor to your pickled beans. This variation is great for those who love herbal notes in their food. These variations let you explore new flavors while keeping that crunchy texture. You can find all the details in the full recipe. To keep your pickled green beans fresh, store them in the fridge. Make sure they stay in a clean, sealed jar. The beans should stay covered with the brine. This helps keep them crunchy. Always use a clean utensil to take beans out. This stops germs from getting in. Quick pickled green beans can last for about two weeks in the fridge. After that, their taste and texture may change. For the best flavor, try to eat them within a week. If you want to keep them longer, consider canning them. Canned beans can last for months when stored in a cool, dark place. Check for a few signs before eating your pickled green beans. If you see mold or the brine changes color, it's time to toss them. A bad smell can also be a sign of spoilage. If the beans are mushy or have an off taste, do not eat them. Always trust your senses. Quick pickled green beans last for about two weeks in the refrigerator. Store them in a tightly sealed jar. The brine helps keep them fresh. After a week, they taste even better as the flavors meld. If you notice any off smells, it’s best to toss them out. Yes, you can reuse the brine for other pickling. However, it’s best to use it only once. The flavor will change with each use, but it can work well for other vegetables. Just make sure to strain out any bits of garlic or spices before reusing. Quick pickled green beans add a nice crunch to many dishes. They work great in salads, tacos, or grain bowls. You can also serve them as a side or snack. Their tangy flavor complements grilled meats and fish. Try them on a charcuterie board for added color and zest! Quick pickled green beans are simple and fun to make. You learned the basics, from essential ingredients to helpful tips for crunch. We discussed variations to suit your taste, and storage tips to keep them fresh. Remember, avoid common mistakes to ensure great flavor and texture. Enjoy exploring new flavors and dishes that pair well with your pickled beans. You now have the know-how to create delicious snacks or sides anytime. Get started today, and happy pickling!

Quick Pickled Green Beans

Discover the vibrant flavor of zesty quick pickled green beans with this easy recipe! In just 15 minutes of prep time, you can create a delicious and tangy side dish that’s perfect for any meal. Using simple ingredients like vinegar, garlic, and spices, these pickled green beans are not only tasty but also colorful and fun to serve. Click through to explore the full recipe and add a burst of flavor to your table!

Ingredients
  

1 pound fresh green beans, trimmed

1 cup white vinegar

1 cup water

1 tablespoon granulated sugar

1 tablespoon sea salt

2 cloves garlic, sliced

1 teaspoon red pepper flakes

1 teaspoon mustard seeds

½ teaspoon black peppercorns

Instructions
 

Start by preparing the green beans. Rinse them under cold water and trim off the ends. Set aside.

    In a medium saucepan, combine the white vinegar, water, granulated sugar, sea salt, garlic slices, red pepper flakes, mustard seeds, and black peppercorns.

      Place the saucepan over medium heat and bring the mixture to a simmer, stirring occasionally until the sugar and salt have dissolved.

        Once dissolved, remove from heat and let the brine cool for about 10 minutes.

          Meanwhile, pack the trimmed green beans into clean, sterilized jars, standing them upright for an appealing presentation.

            Pour the cooled brine over the green beans in the jars, ensuring they are fully submerged.

              Seal the jars with lids and place them in the refrigerator.

                Allow the green beans to pickle for at least 4 hours before using, although leaving them for 24 hours will enhance the flavor even more.

                  Prep Time: 15 minutes | Total Time: 4 hours | Servings: 4-6

                    - Presentation Tips: Serve the pickled green beans in a glass jar as a colorful side dish on your table, and garnish with a few slices of fresh garlic or a sprinkle of additional red pepper flakes for an eye-catching detail.

                      WANT TO SAVE THIS RECIPE?